I have been busy working down Bethany’s “honey-do” list since we moved into our new home. There were quite a few woodworking projects on the list, including building a long farmhouse dining room table for our large family. When I sat down to start drawing up the plans I asked her to provide me with pictures of tables similar to what she had in mind. Bethany only provided me with one example, a picture from Chip and Joanna Gaines’ website:

The table was made for a couple with 7 children (Allen and Gail Holt) on an episode titled “Fixer Upper: Yours, Mine, Ours, and a Home on the River”. It was built by Clint Harp with Harp Design Co. and met Bethany’s design guidelines of simple, rugged, and LARGE.
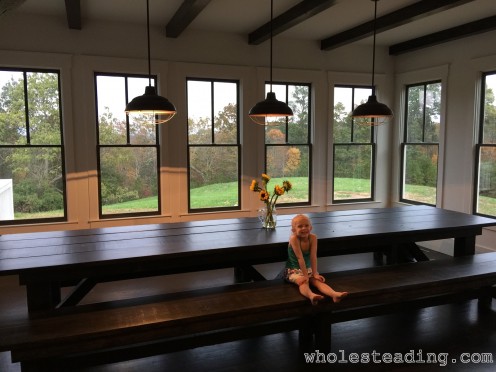
Just to be clear, I didn’t have plans for the table above and had to design our table from scratch using Google Sketchup. I’m not sure of the dimensions of their table but two obvious modifications I made were to use a 4×4 for the beam under the benches instead of a 2×2 and I also made the benches have symmetrical boards instead of one larger and one smaller board. We also opted to stain our table with Minwax Ebony instead of painting it white. We both like the white version but thought a darker table would look better in our dining room. Let us know if you agree!
- if you use these plans please share this post on Pinterest, Facebook, or another social media site AND
- leave a comment here letting us know you built this table.
Here are the instructions to build this farmhouse dining room table:
Tools and Materials:
- Kreg Jig Master System
- Kreg Jig HD
- Compound Miter Saw
- Circular Saw
- Cordless Drill
- Tape Measure
- Square
- Assorted Clamps
- Mechanical Carpenter Pencil
- Safety Goggles
- Hearing Protection
- Kreg Jig 2.5″ HD Pocket Hole Screws
- 4″ Screws
- 3″ Screws
- Wood Glue (Waterproof and Stainable)
Lumber:
I placed my order for lumber on Lowes.com. I made a note that I would be using the wood for a furniture project and was extremely happy with the wood they pulled for me. At the time of writing this the delivery fee was $76 (whether you have one board delivered or a large order…so try to get everything you need at the same time). The subtotal for the lumber, before tax and delivery fee, was only $232.34 (thousands and thousands of dollars cheaper than purchasing a 16 foot table from a store!)
- 4×4’s – Total of three 16’ posts, used to make the following table parts:
- Angled Brace – 4×4 – 22 5/8”
- Angled Brace – 4×4 – 22 5/8”
- Angled Brace – 4×4 – 22 5/8”
- Angled Brace – 4×4 – 22 5/8”
- Table Legs Lower Support – 4×4 – 28”
- Table Legs Lower Support – 4×4 – 28”
- Table Legs Upper Support – 4×4 – 28”
- Table Legs Upper Support – 4×4 – 28”
- Table Lower Beam – 4×4 – 13’ 6”
- Table Lower Beam Support – 4×4 – 5 ½”
- Table Upper Beam – 4×4 – 12’ 11”
- 2×4’s – Total of five 16’ boards
- Inner Apron Support – 2×4 – 12’11”
- Inner Apron Support – 2×4 – 12’11”
- Outer Apron – 2×4 – 13’ 9”
- Outer Apron – 2×4 – 13’ 9”
- Table Legs Apron – 2×4 – 3’ 3”
- Table Legs Apron – 2×4 – 3’ 3”
- 2×12’s – Total of four 16’ boards
- Table Top Board – 2×12 – 14’
- Table Top Board – 2×12 – 14’
- Table Top Board – 2×12 – 14’
- Table Top Board – 2×12 – 14’
- 6×6’s – Total of one 16’ post
- Table Leg – 6×6 – 28 ½”
- Table Leg – 6×6 – 28 ½”
- Table Leg – 6×6 – 28 ½”
- Table Leg – 6×6 – 28 ½”
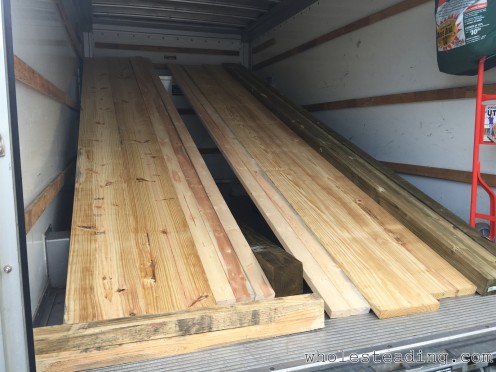
I had planned to have Lowe’s deliver my order since I don’t have a vehicle large enough to pick up 16 foot long boards. The delivery date was out a little further than I wanted so I ended up picking up all the wood using a Uhaul truck. Here is a picture of the wood in the truck…this is all of the wood required to build the table:
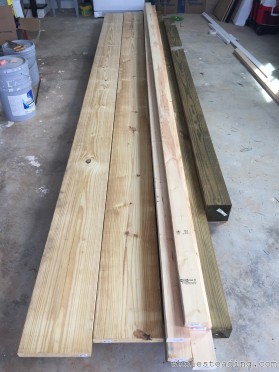
Here is the wood unloaded into the garage:
 Directions:
I will do my best to cover every step required to build this farmhouse dining room table but if you have any questions please leave a comment.
Step 01
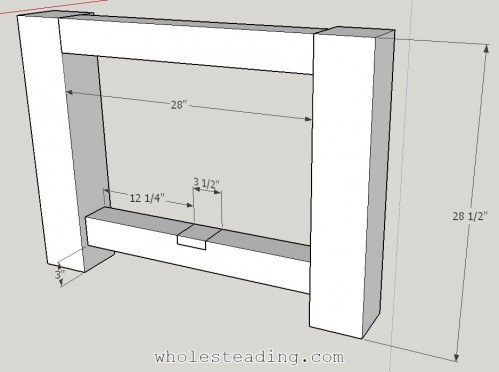
First you need to build the ends for each side of the table:
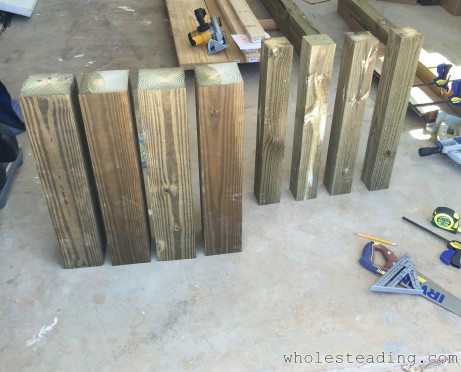
 Start by making all the cuts. I don’t have a saw that easily cuts 6×6 posts so I had to partially cut them in my miter saw and then flip them over to finish the cut. Here are the all the pieces cut for the table ends:
Once the cuts are done you need to make the Kreg Jig HD pocket holes in the 4x4s:
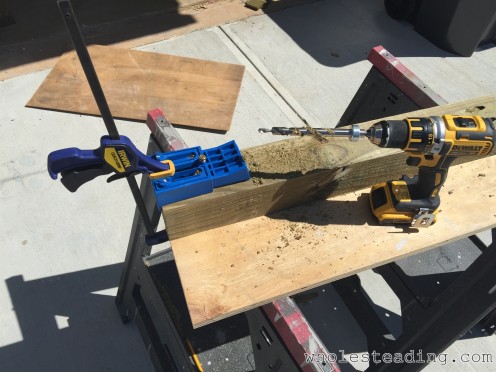
You also need to make the notches in the lower 4×4 beams…here is a video showing how I did it:
Now it’s time to assemble the table ends. I used a 1″ thick piece of wood as a guide on each side to help position the 4x4s in the center of the 6×6 legs:
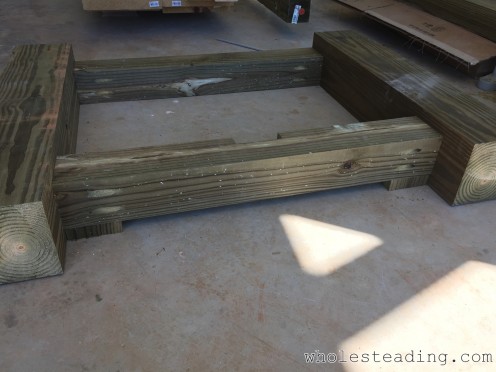
Step 02
Once the ends are assembled you need to connect them to each other using the long 4×4 beams:
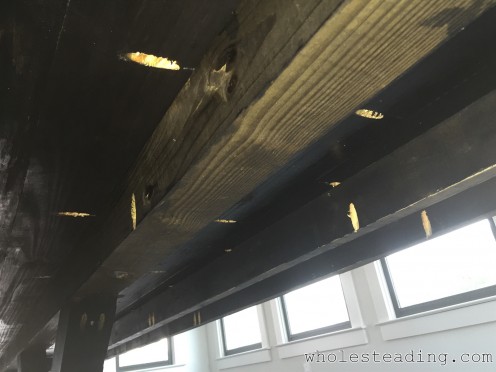
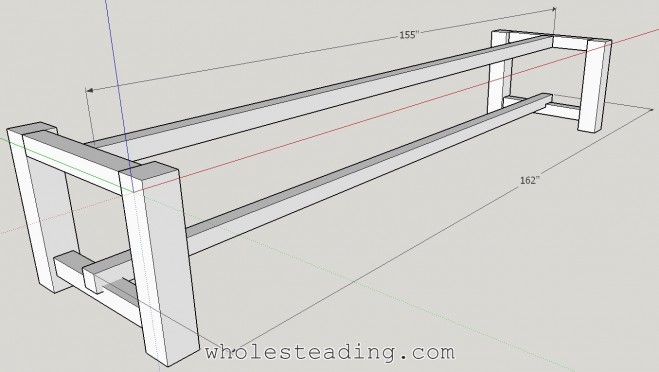 I clamped a piece of wood to the 4x4s on the table ends so that I could set the long beam down on the temporary ledge while I fastened the segments using HD pocket screws. Here are two pictures…one from above and one from below so you can see the positioning of the pocket holes:
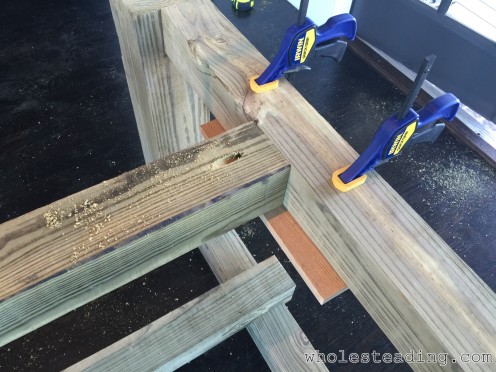
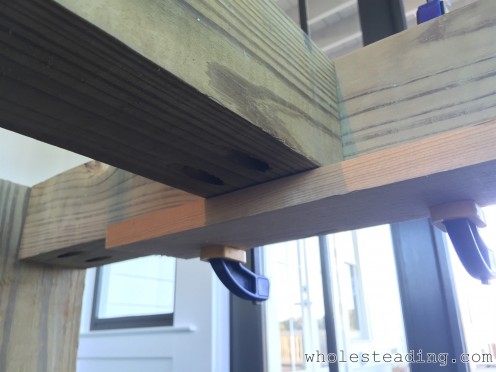
Here is what it looks like when you are done with this step:
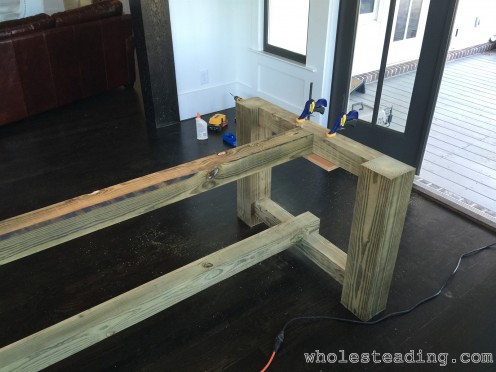
Note: The bottom beam is connected with 4″ wood screws from underneath going up into the beam from below.
Step 03
Once the ends are connected you need to add the supports for the beams:
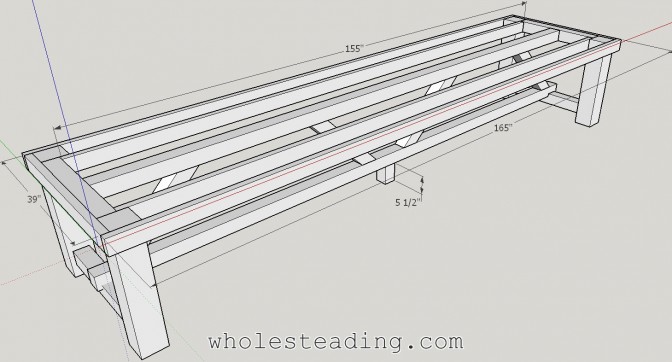
 Unfortunately, I got busy building and forgot to take pictures of this specific task. The important thing is to cut the pieces exactly the dimensions as specified in the Sketchup File and picture above. I measured the pieces and would have cut them shorter but decided to try the Sketchup dimensions first. The issue was that I had to have my wife and children lift the top beam up while I positioned and fasten the supports. Once we did that they fit like a glove and the table seemed extremely strong after they were all attached.
Step 04
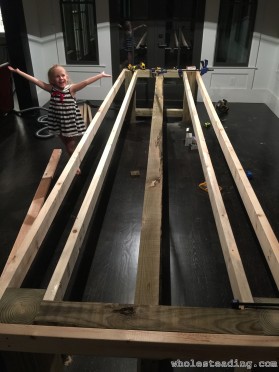
Now you can run the apron around the top of the table and add in two additional 2x4s for added support for the long table top boards:
 At this point the table starts to get EXTREMELY heavy! We built the table in the room but ended up moving it outside to apply the stain. It took our entire family to move the table outside…even before the top was installed. Here is a picture with the 2×4 apron and center supports installed:
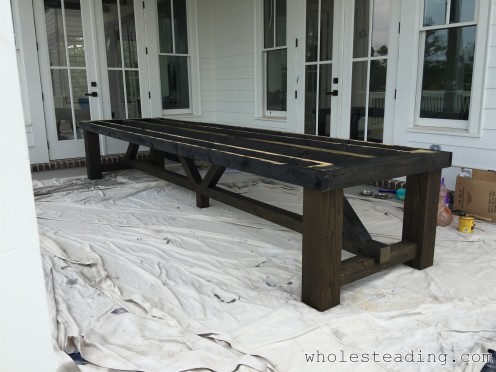
Here is a picture with the stain applied:
Step 05
You are almost done! The last step is to assemble the table top and attach it to the top of the farmhouse dining room table:
Note: The steps below are in order but its important to notice that the pocket holes for connecting the table top are drilled BEFORE you put the tabletop boards on top of the table.
For this step I just laid all the boards down side by side on top of the table and attached them using Kreg HD Screws. My wife stained all the boards BEFORE I connected them so that the stain would be down between the cracks of each board:
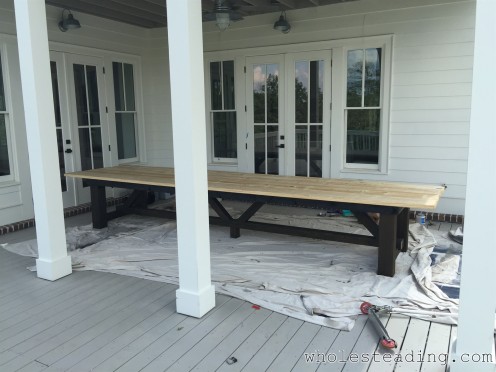
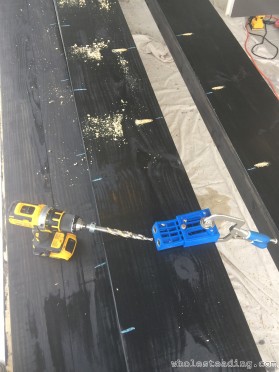
Once the table top boards were stained and attached to each other I spent a long time making sure the table top was positioned square on top of the table. I’m sure there is a better way but I just kept taking measurements until I was satisfied it was centered and square. I then clamped the tabletop down and attached it using the Kreg Jig Pocket Holes from underneath:
I waited to cut the boards to length until they were already attached to the top of the table. I placed a piece of wood parallel with each end to use as a guide. I then ran a circular saw along the guide to cut each side of the table to the desired length.
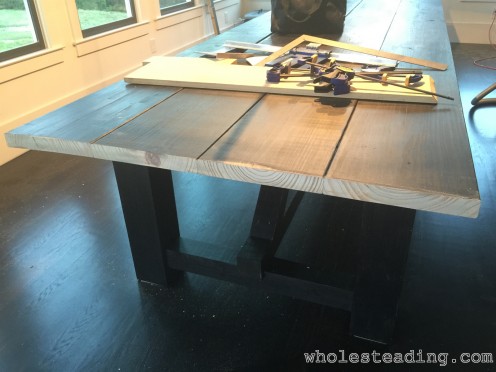
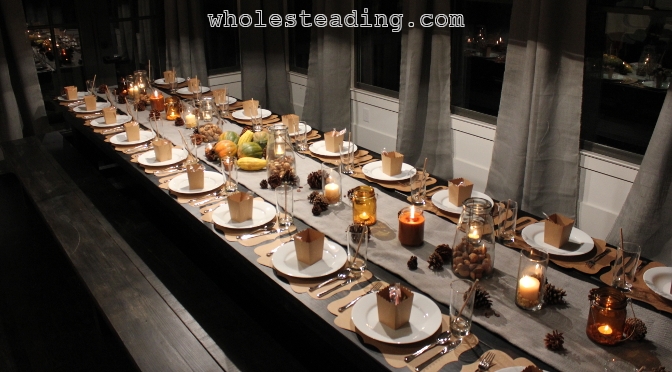
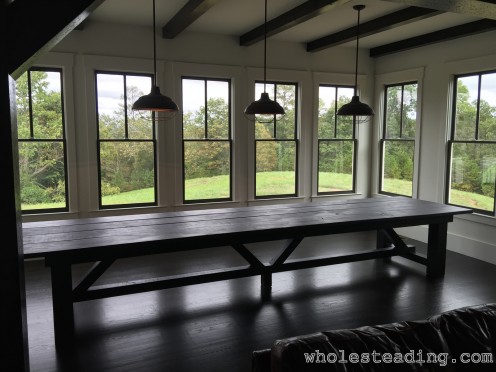
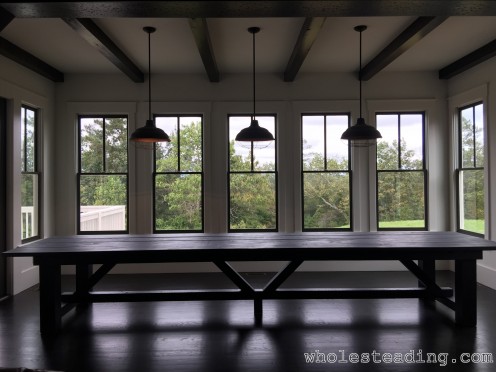
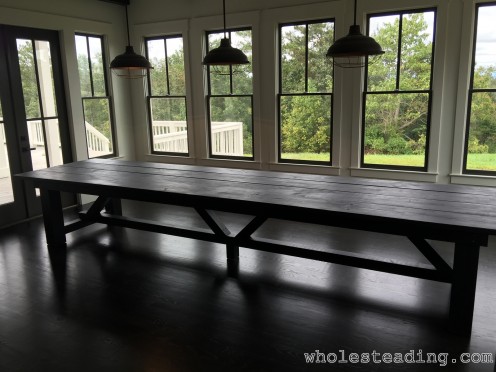
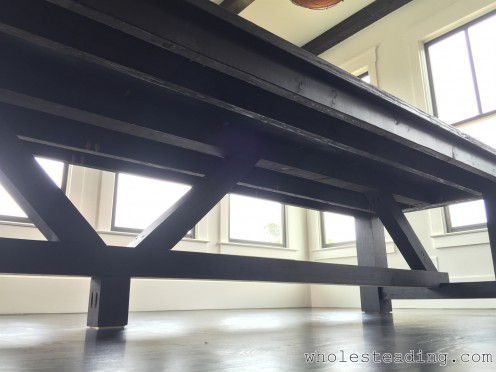
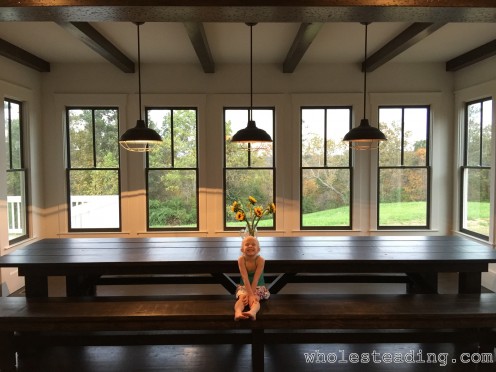
Our table is 186 inches long but it can easily be a couple feet longer or shorter depending on how much of an overhang you desire and what fits well in the dimensions of your room. Here are some pictures of the completed table in our dining room:
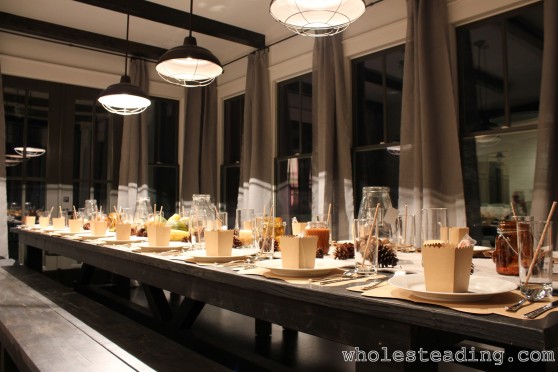
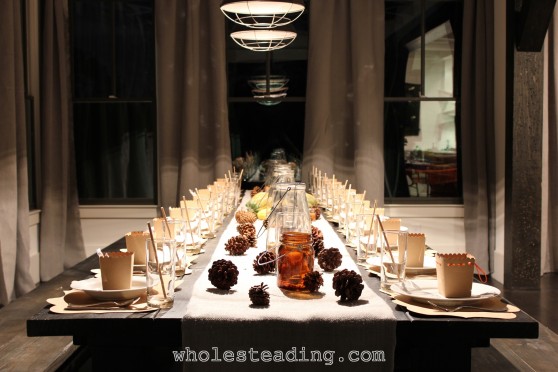
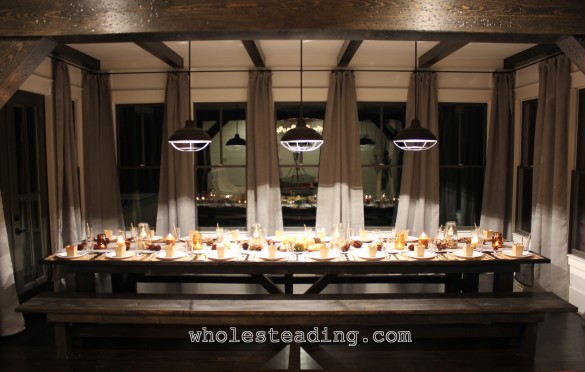
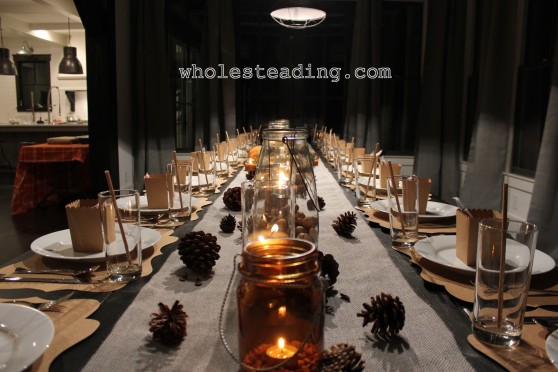
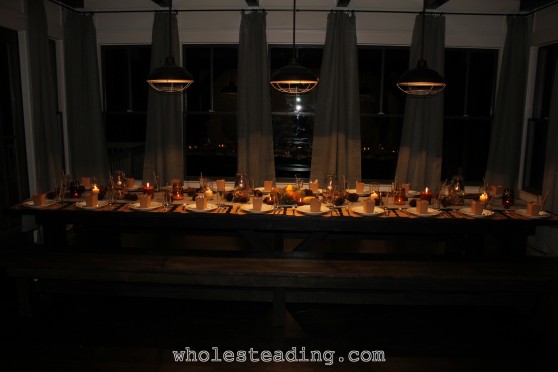
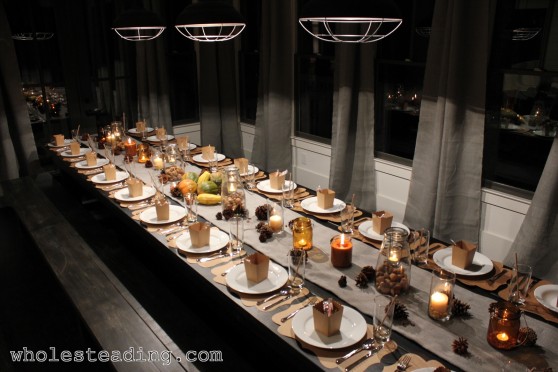 If you love this farmhouse dining room table then please put your love into action by sharing this on Pinterest or Facebook.
Thanks!
Anthony and Bethany
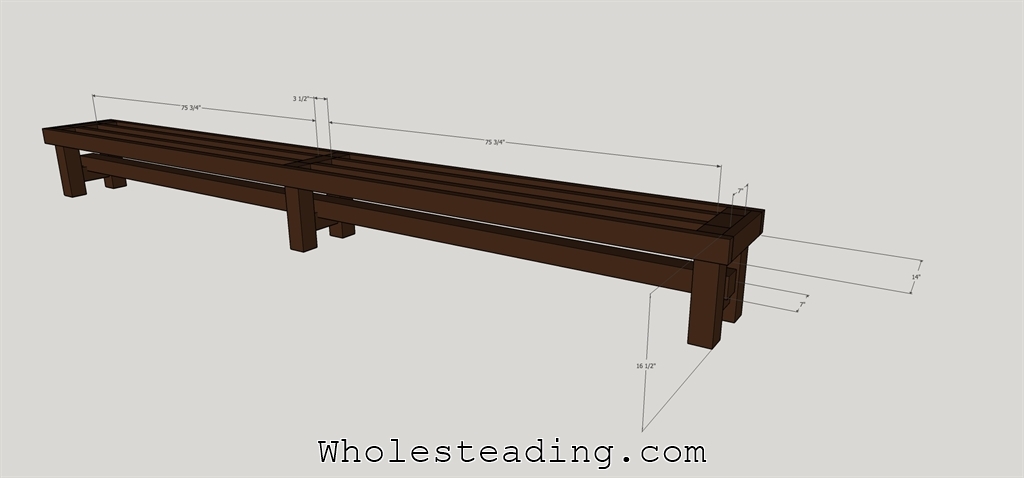
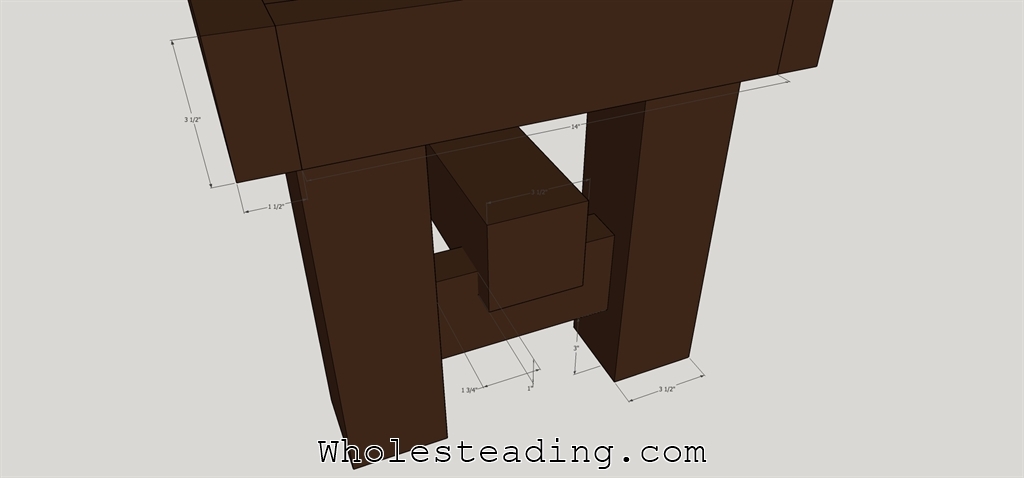
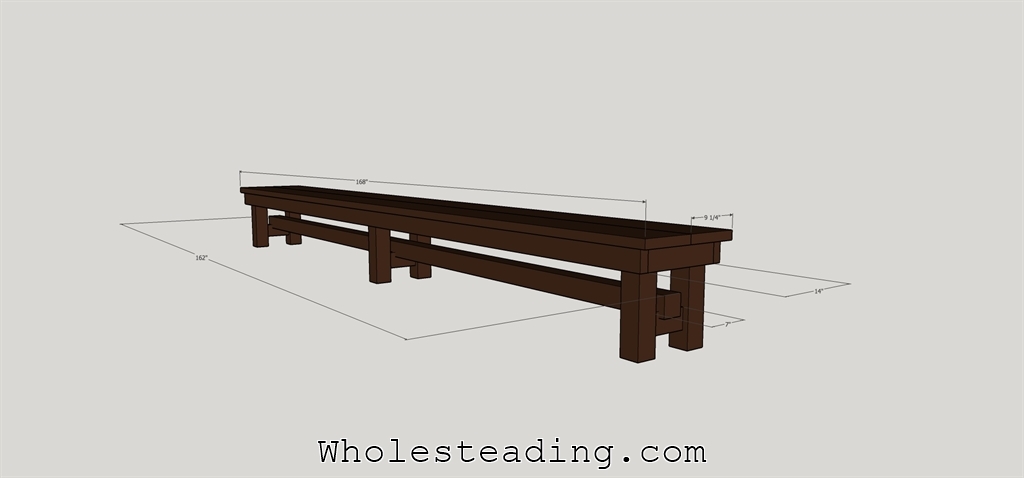
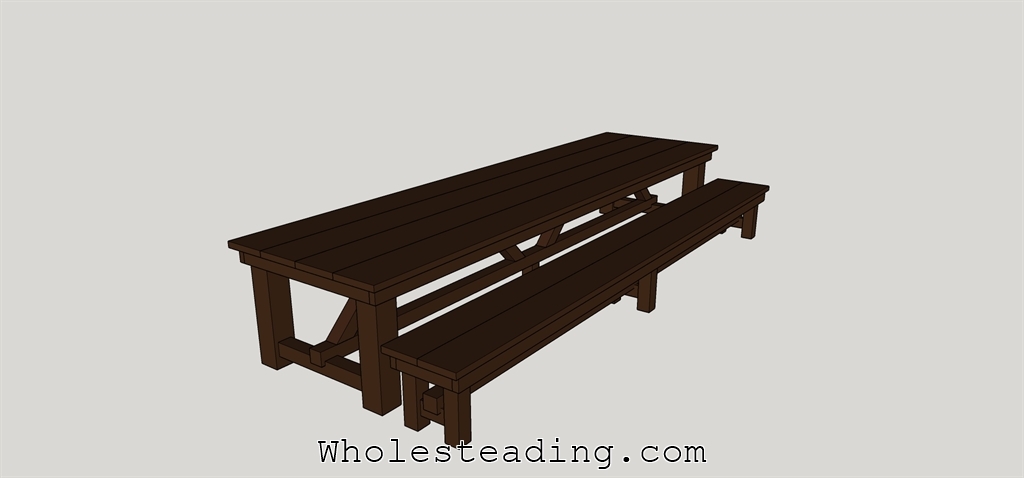
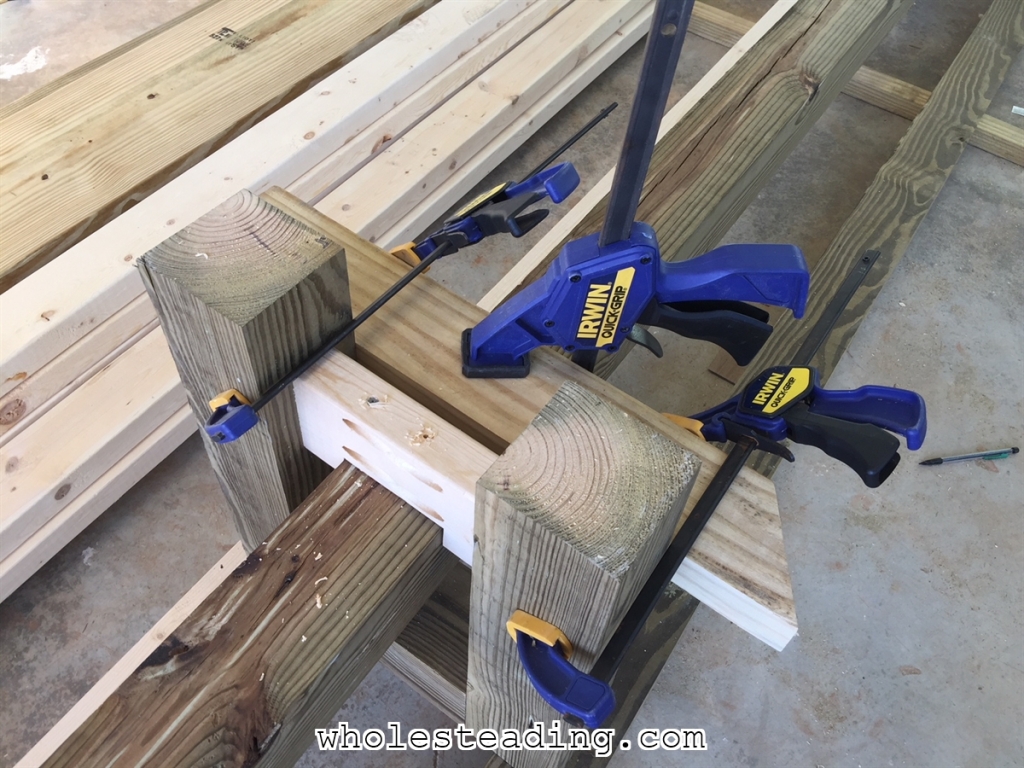
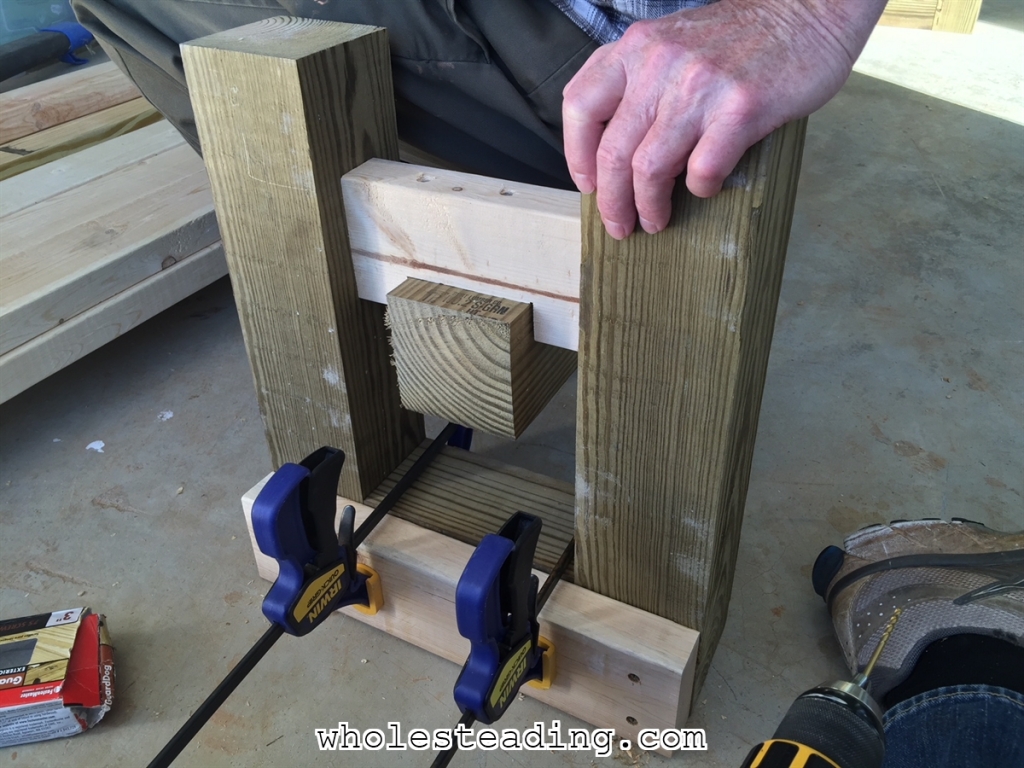
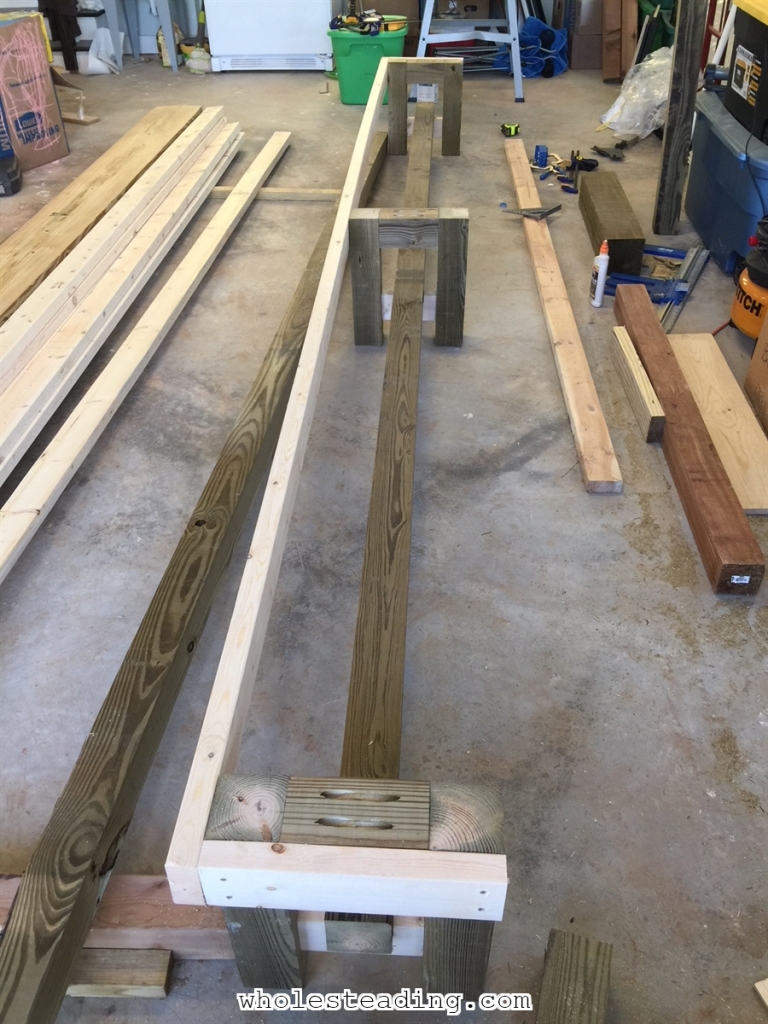
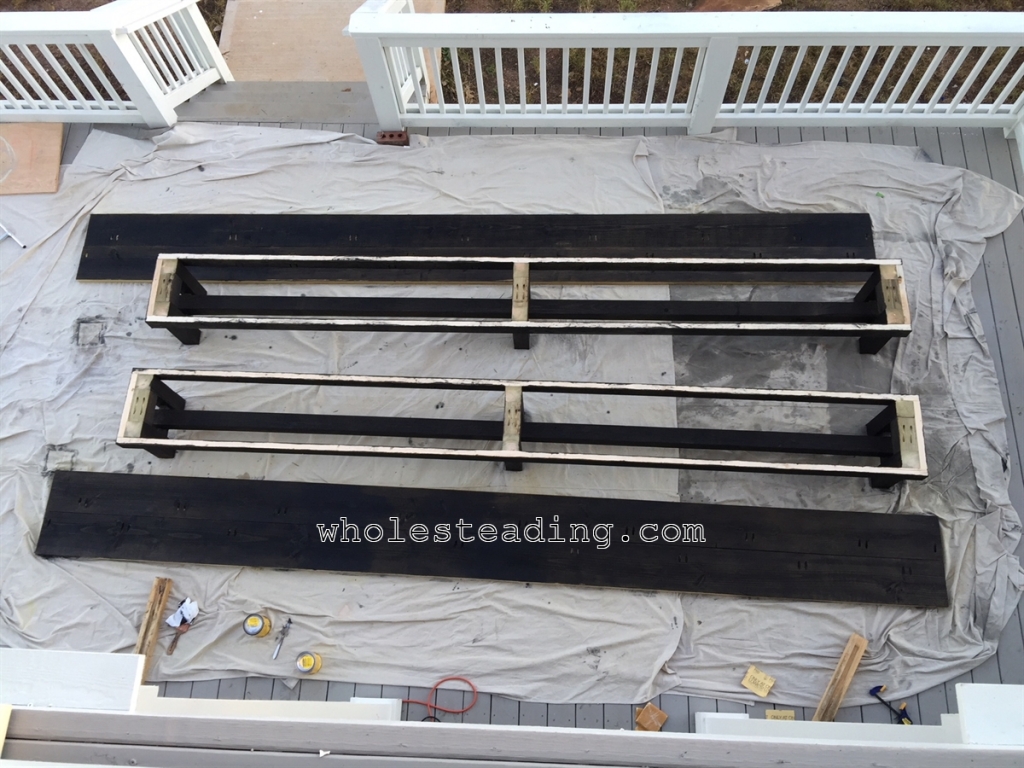
PS – Many people have reached out asking us to post the plans for the benches. When we have more time we will try to come back and give more detailed instructions but here are some dimensions and pictures that should help:
Dimensions for benches:
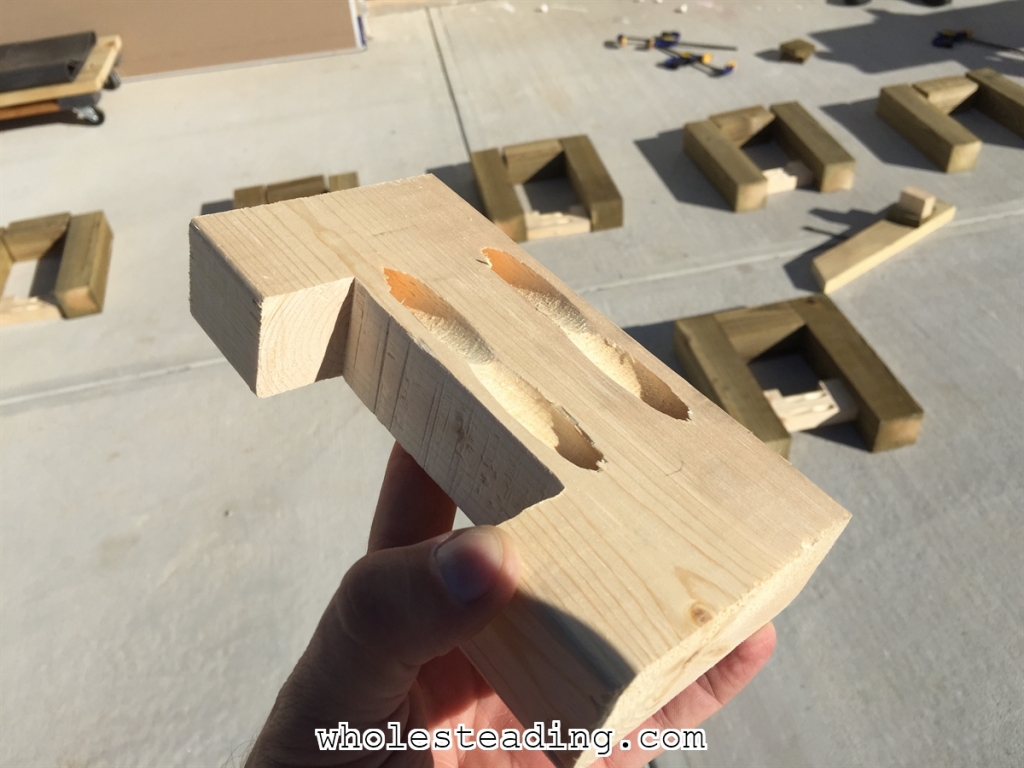
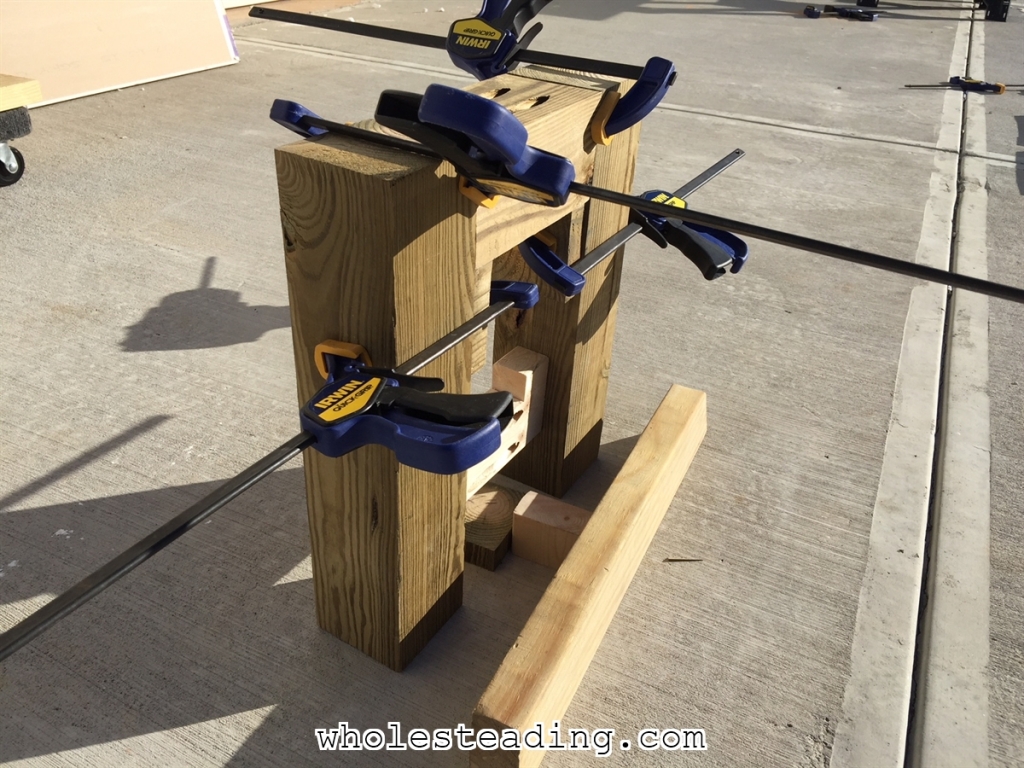
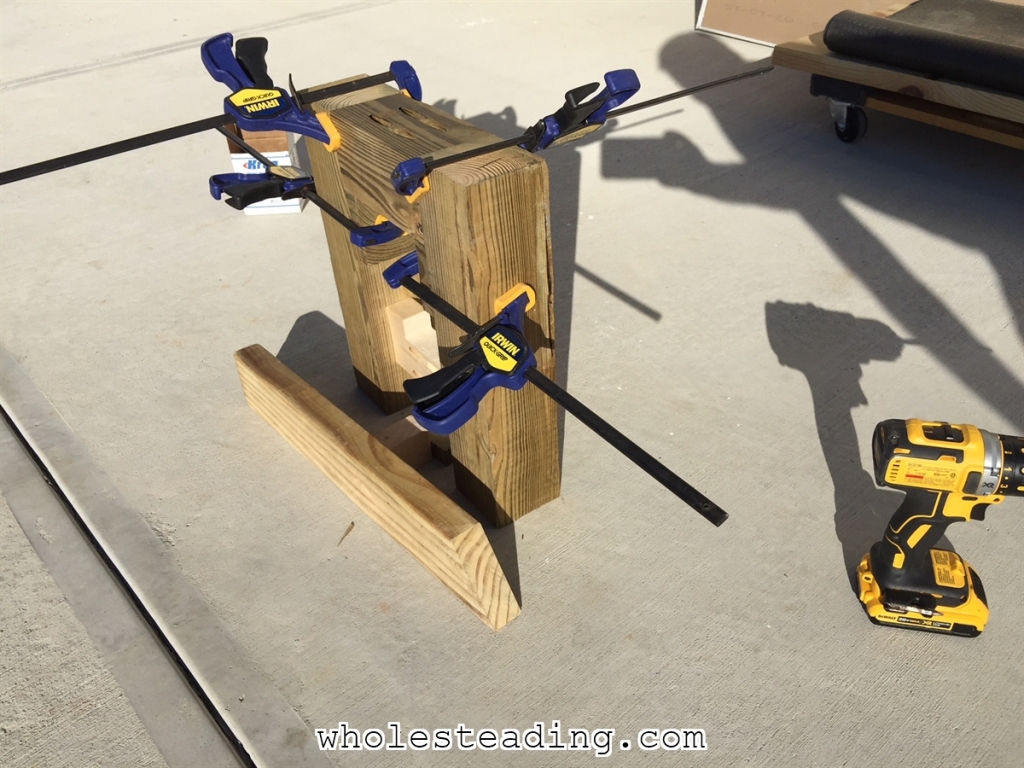
Pictures of the building process:
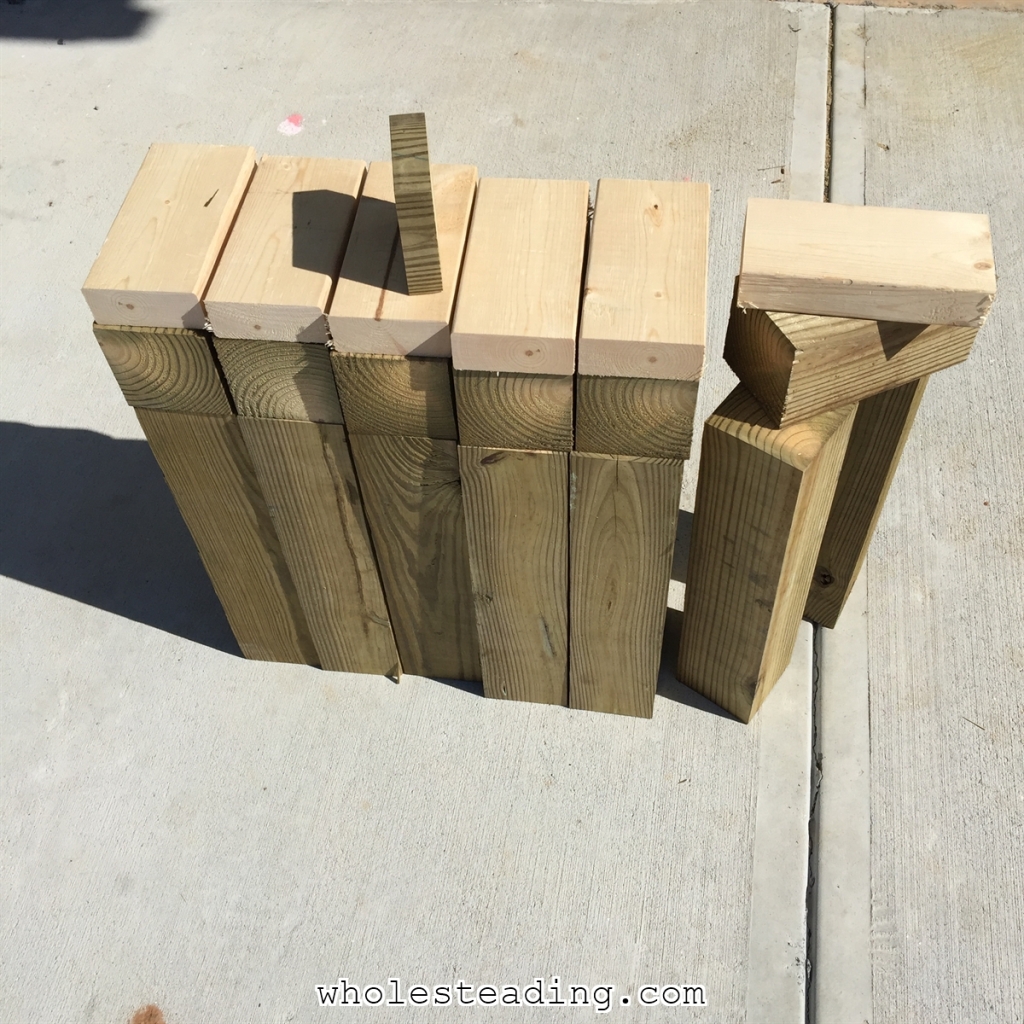
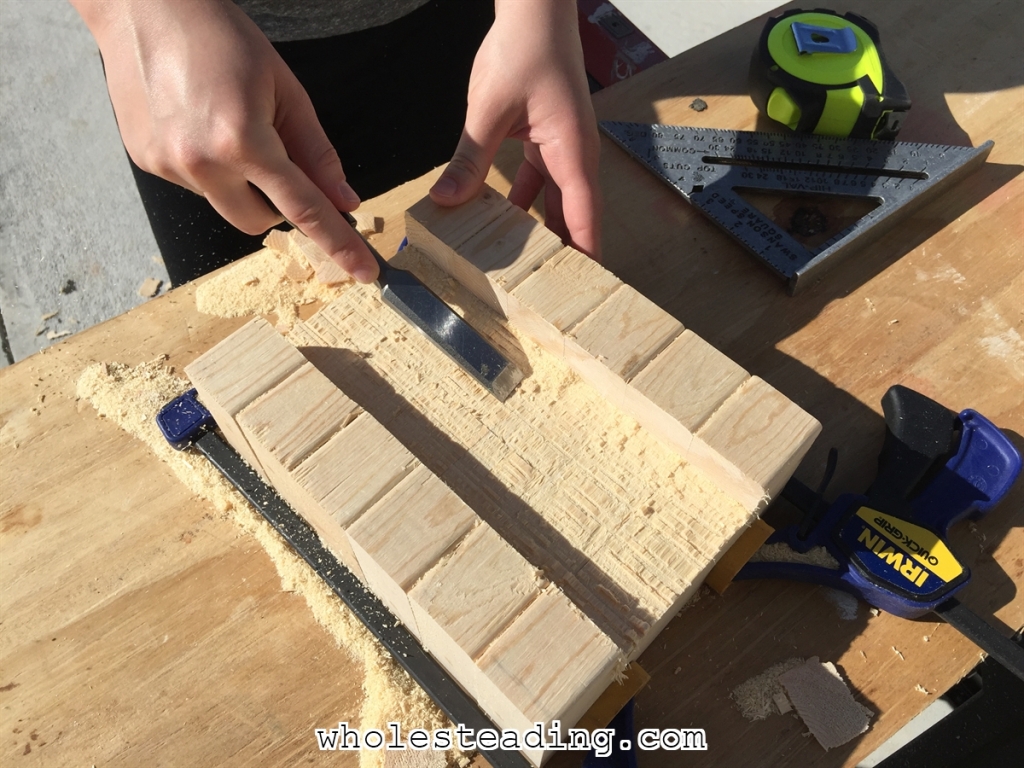
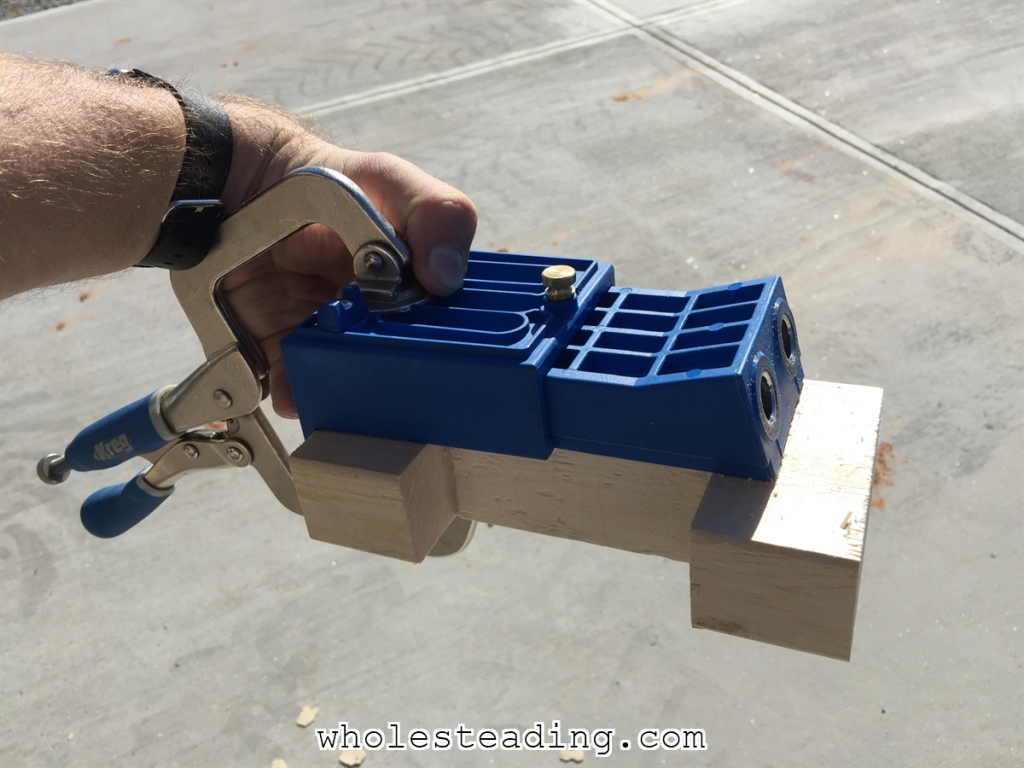
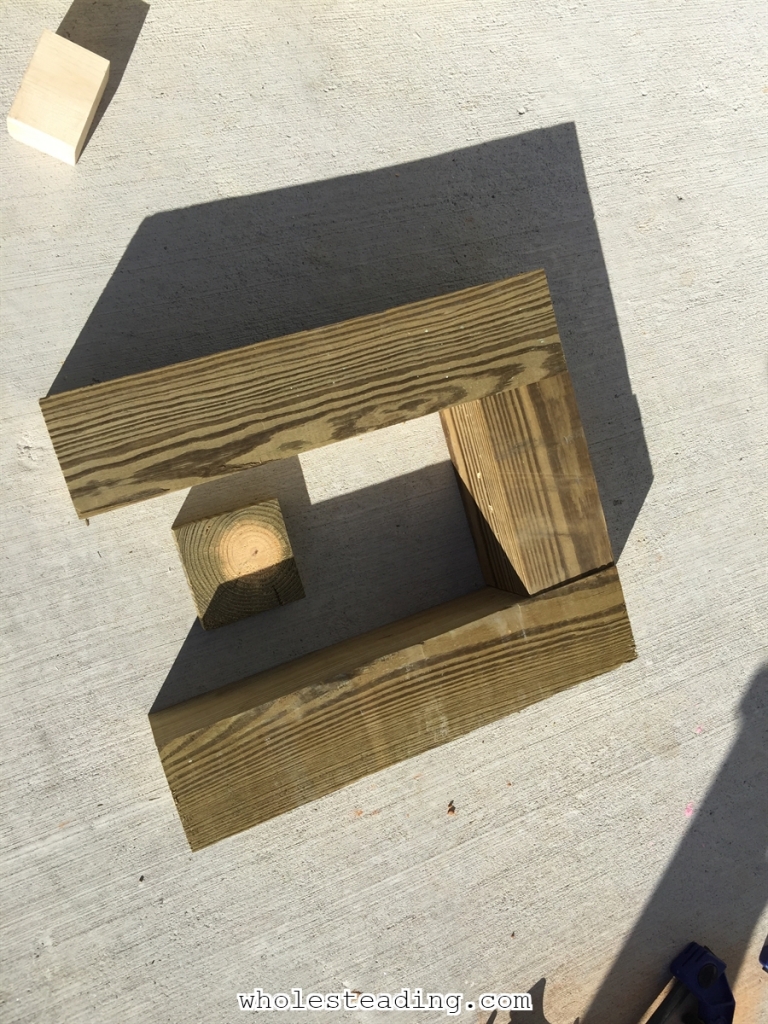
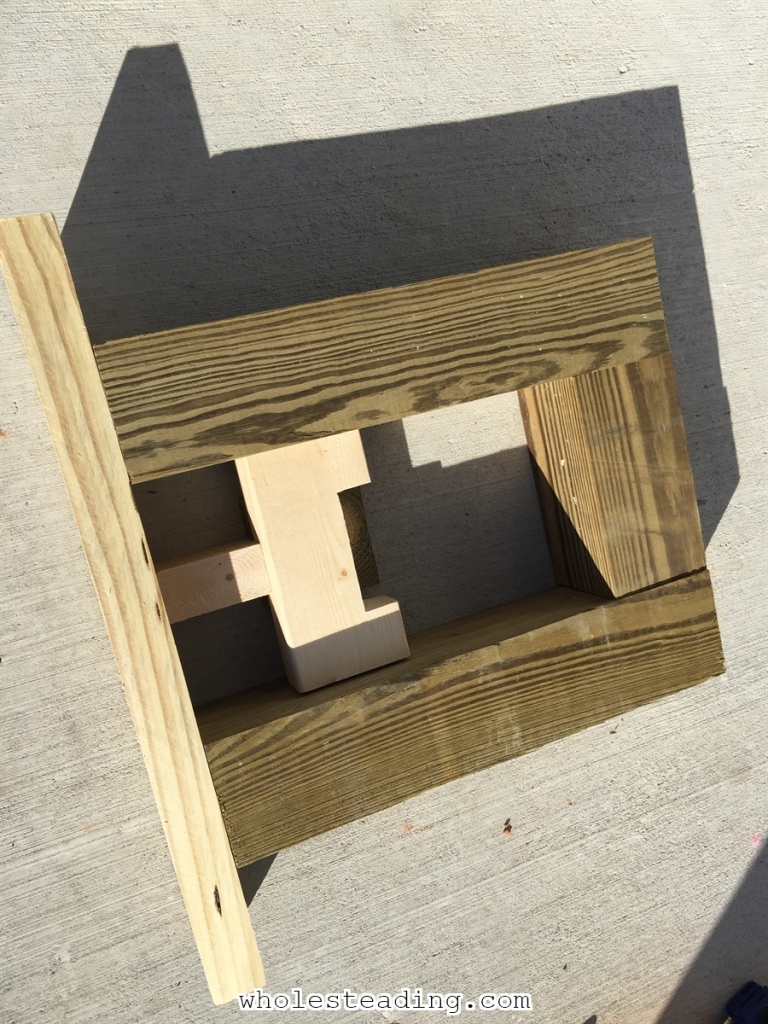
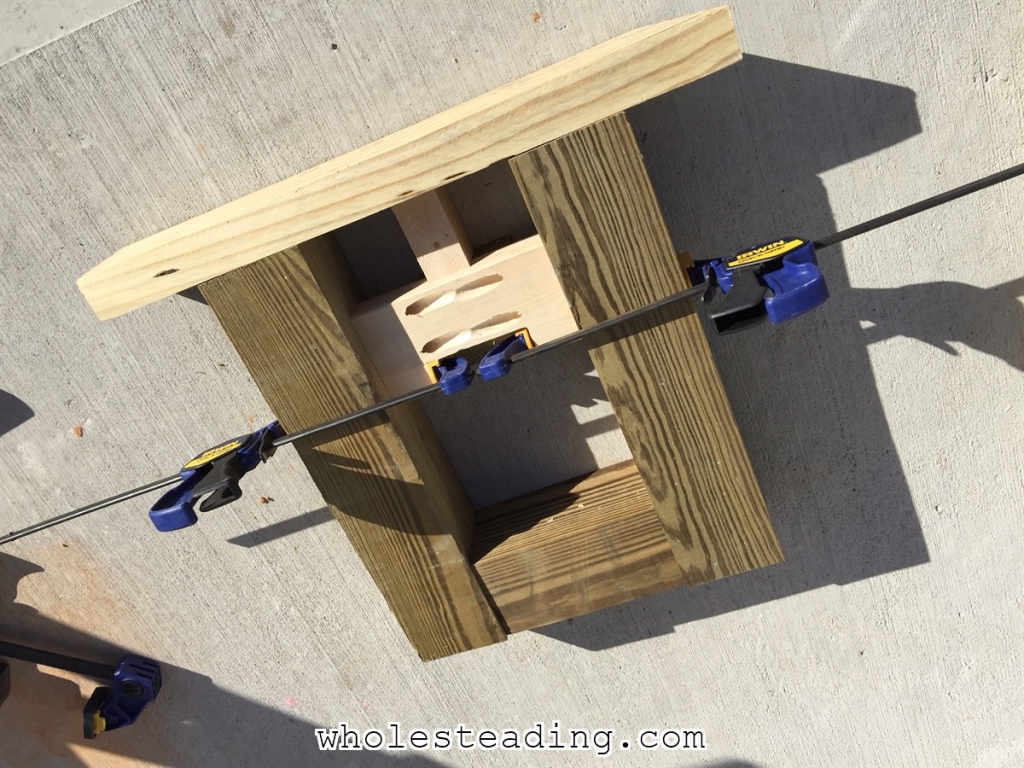
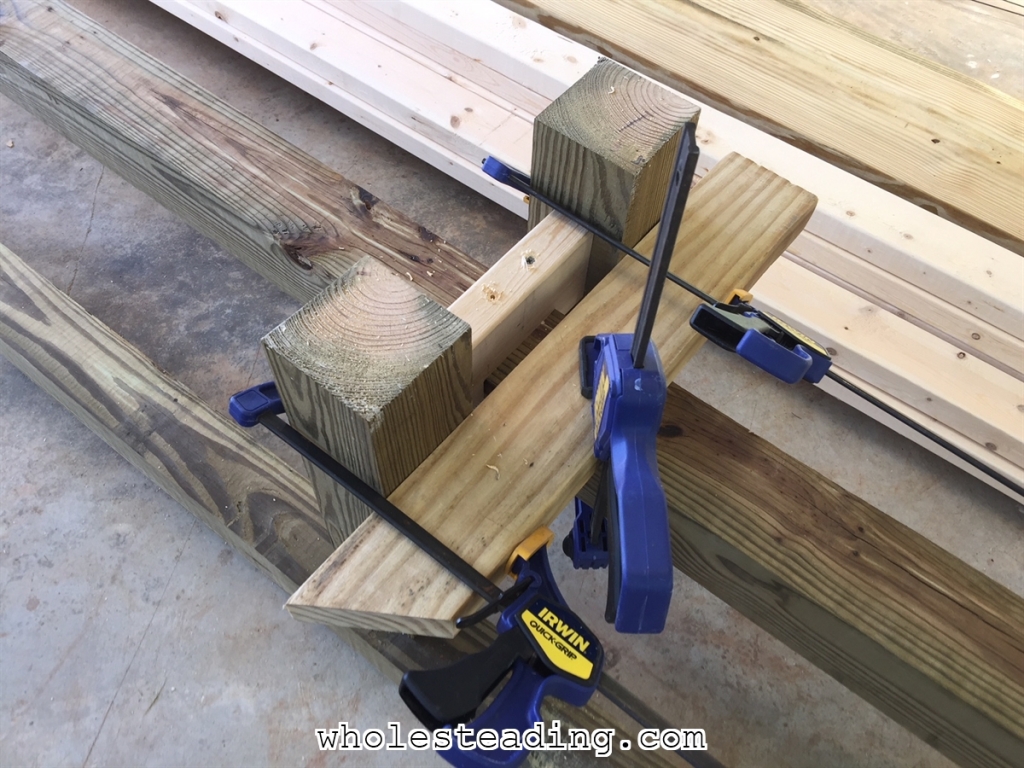
If you have any questions on the benches please leave a comment below and we will update this post with the answer.
Please take a second and share this post on Facebook. Thanks!


Which plans did you use for the big coffee table in your living room?
I designed it myself in sketchup. Are you wanting to build it? If so, let me know and I’ll try to write a post with instructions soon.
This is an incredible project, thanks for sharing the details. I’m looking into getting a Kreg jig for a much smaller project, floating wood shelves. Perhaps one day I can attempt something a little larger. 😉
You and your wife have done an amazing job with your home. Congratulations.
What about the plans for the benches?
Ian, I can post the plans for the benches if you are planning to build them. Let me know and I will try to have the plans posted by this weekend. Thanks, Anthony
I’m going to build this table and benches in the near future. Do you have the bench plans (dimensions)?
Yes, I think I still have the Sketchup file. I will try to post the bench plans this weekend
Michael – sorry for the delay…dimensions and pictures to build the benches have been added to the end of the post above.