Things are really moving along with the build now! It seems like every time we visit the lot there has been significant progress made. This last week has been all about finishing up the foundation and preparing for framing to start. We covered the Basement Footings and Foundation Walls in previous posts but this week they poured the basement slab and the garage slab.
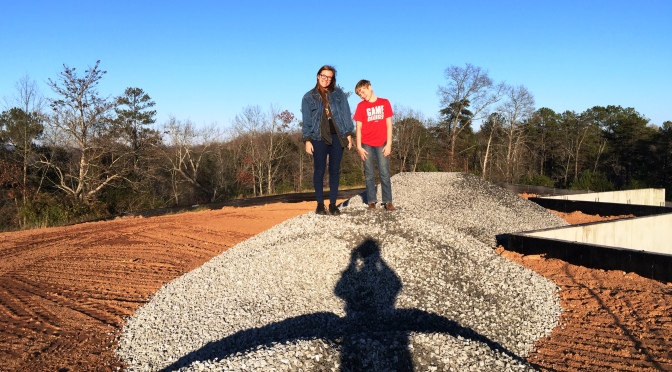
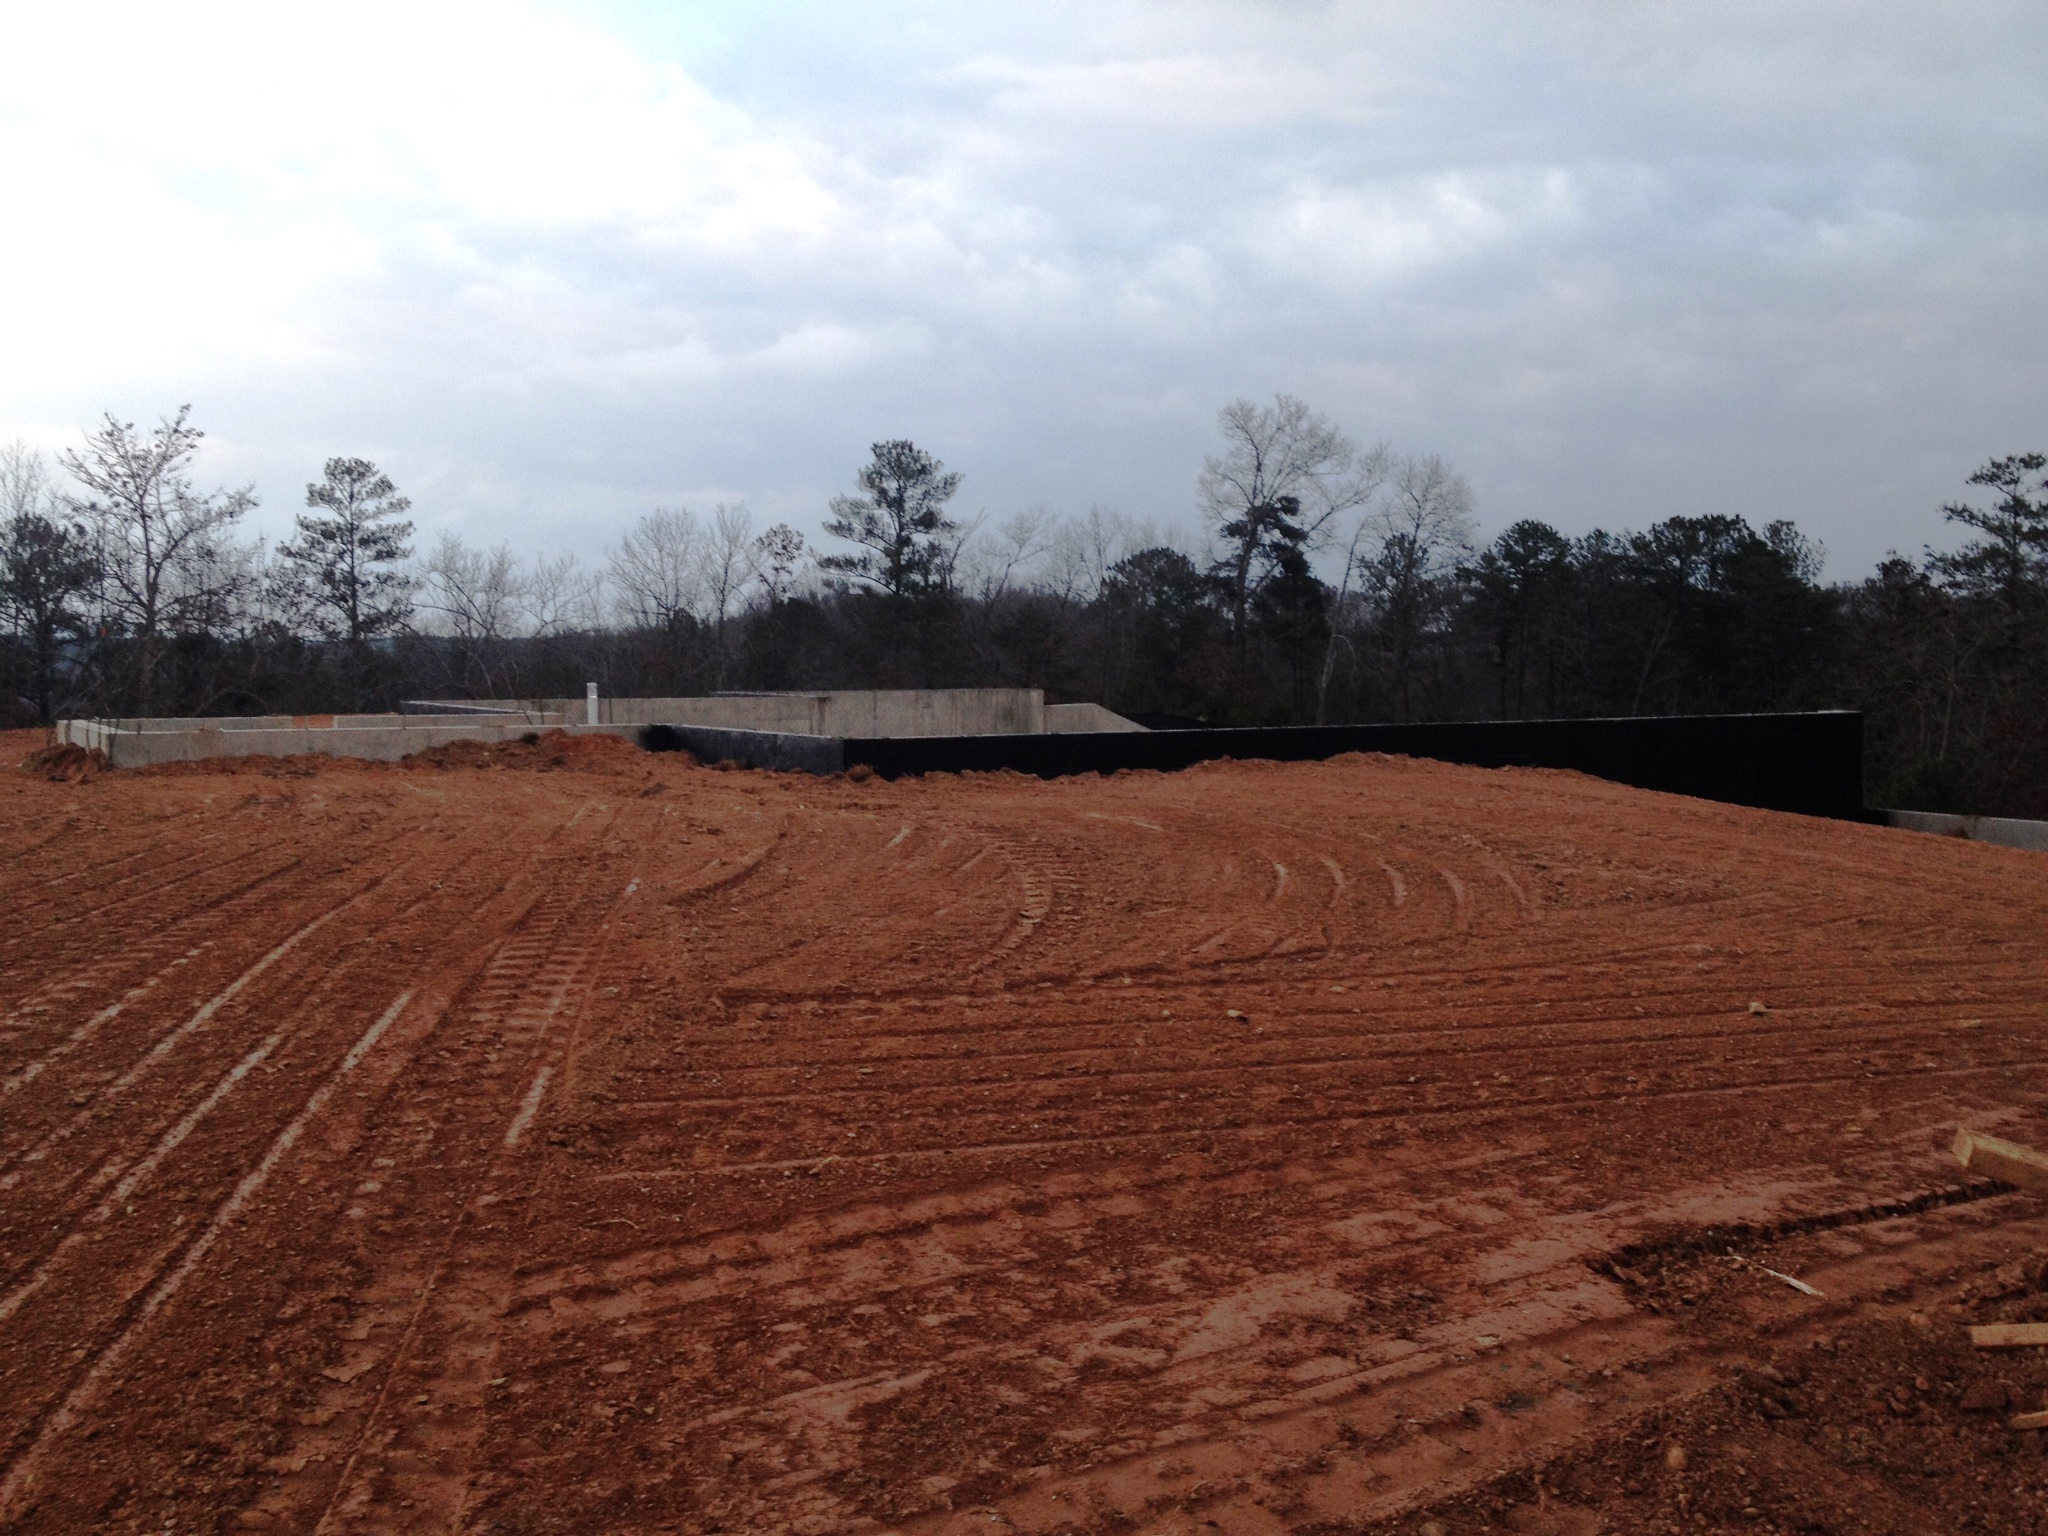
Just prior to pouring the slab, the grader back-filled all the dirt against the basement walls and smoothed out the elevations surrounding the build site. Here are two pictures of what things looked like after the back-fill:
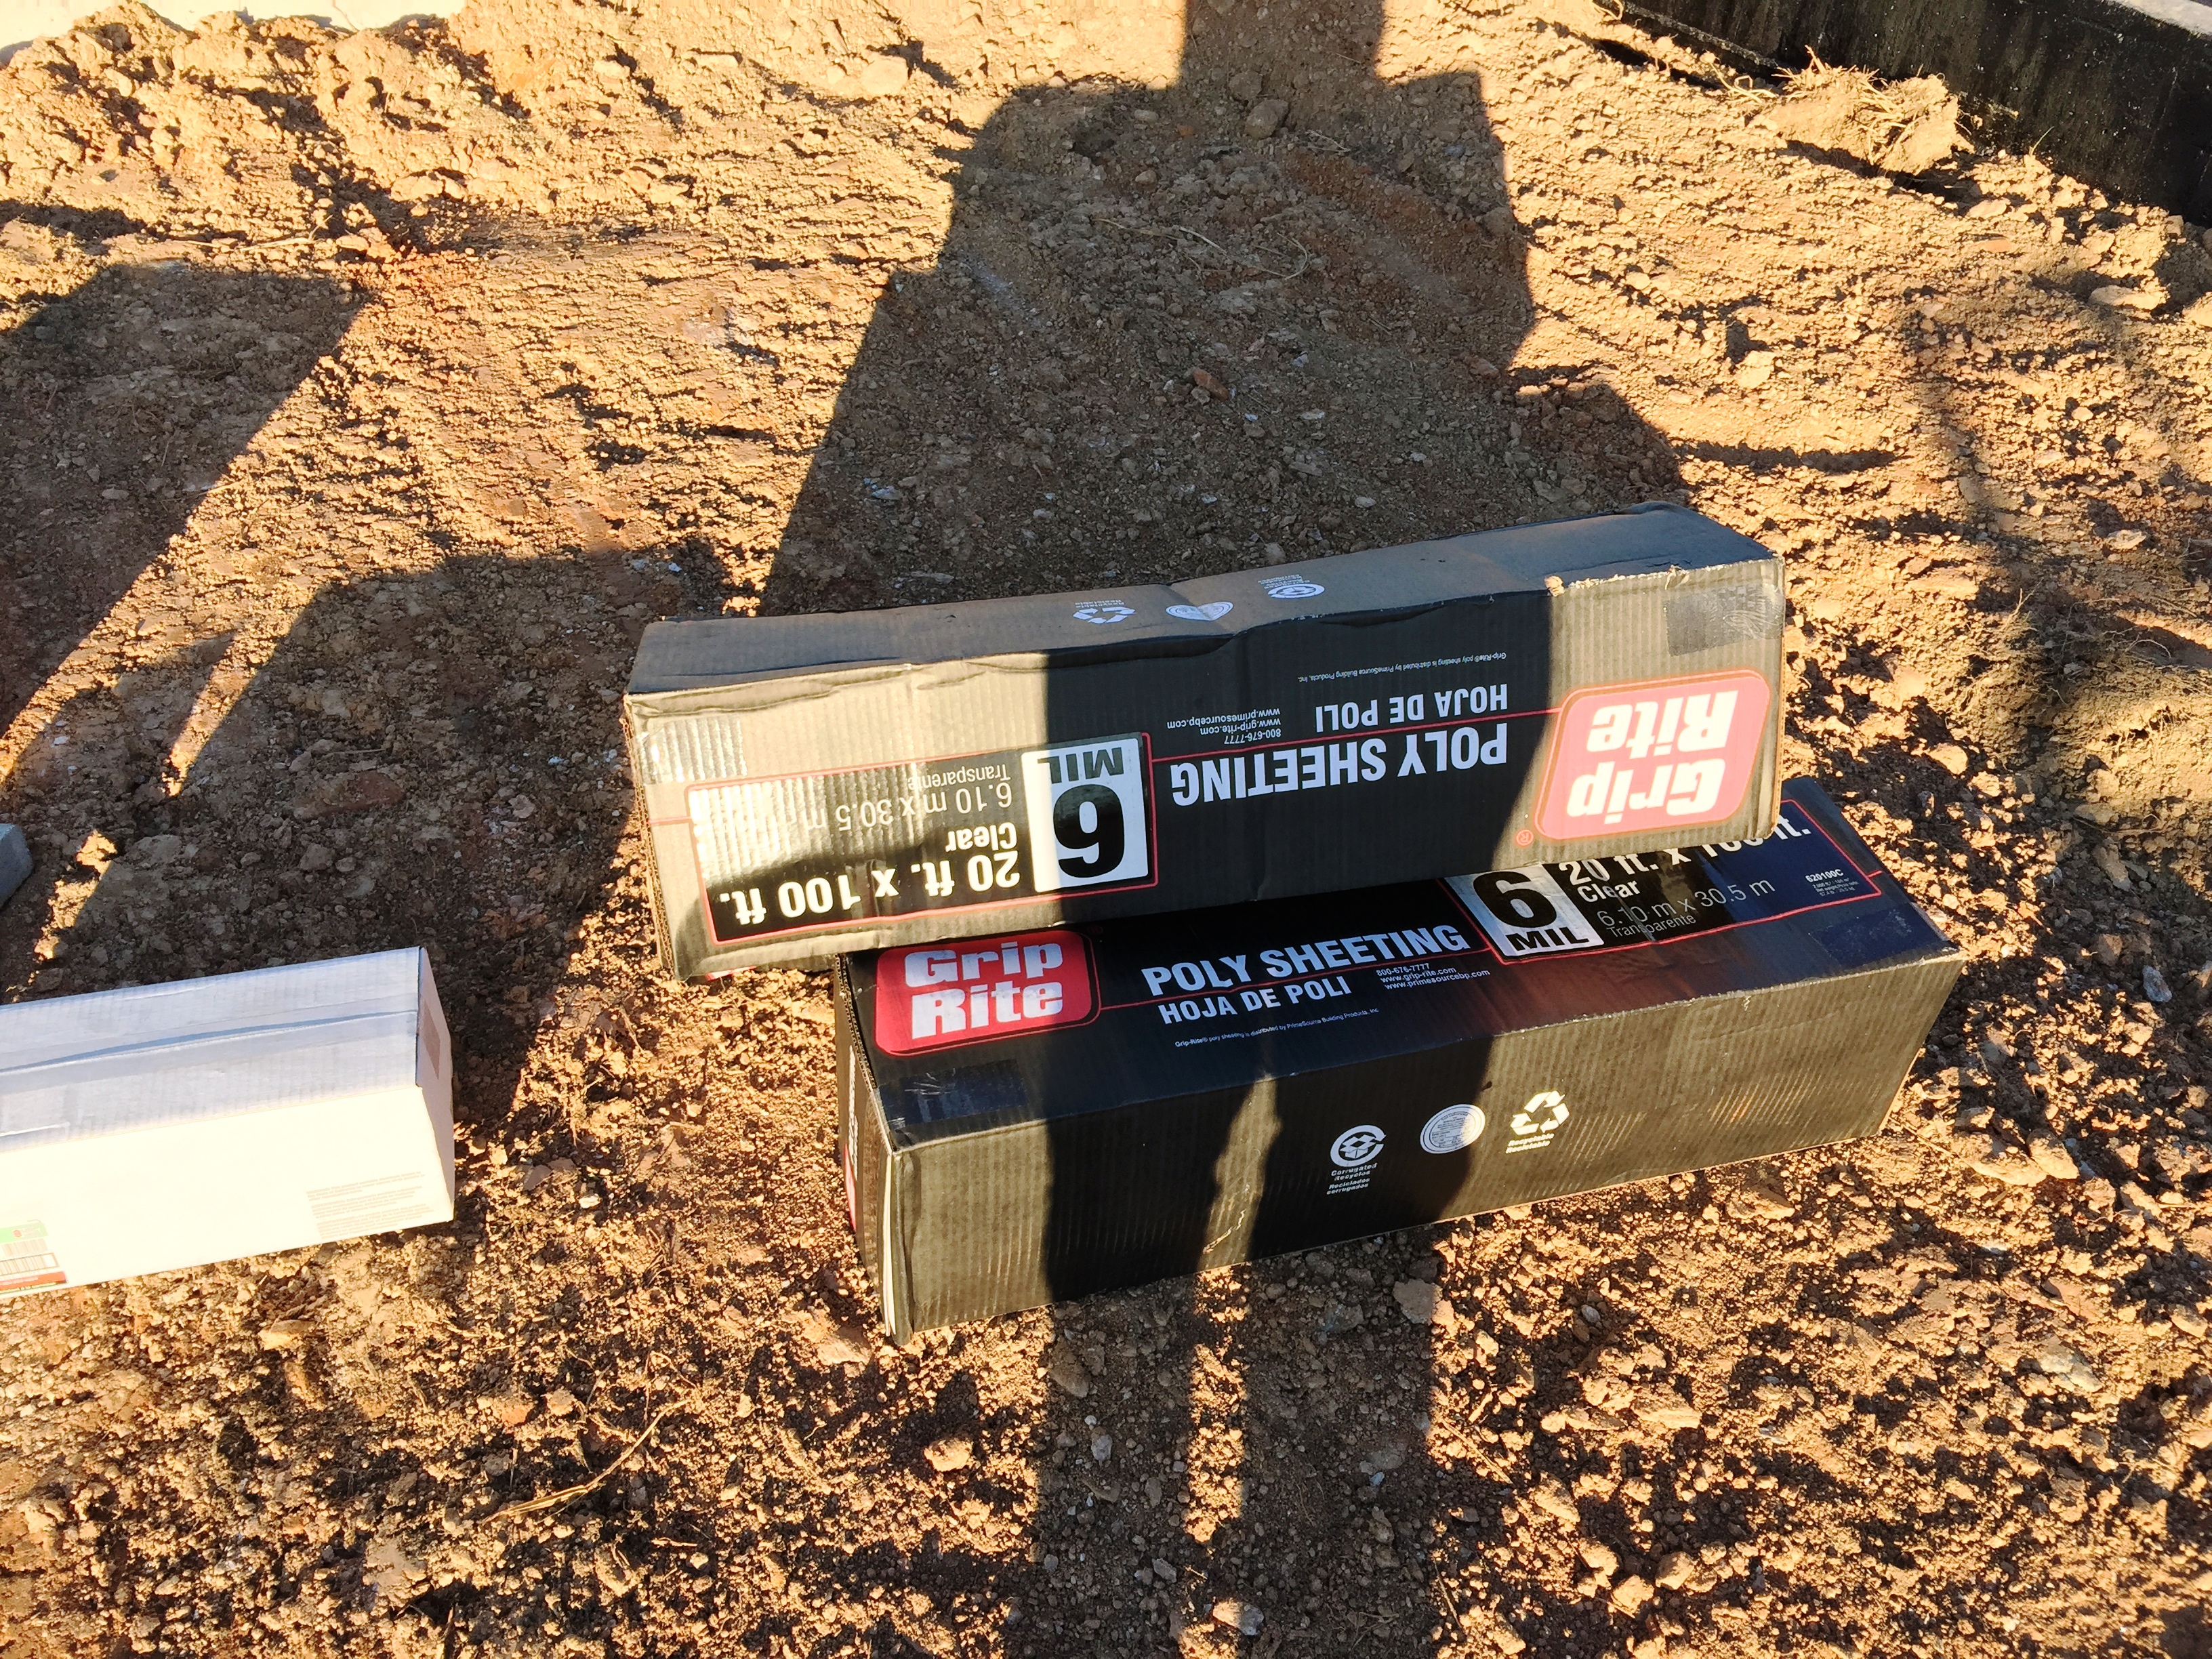
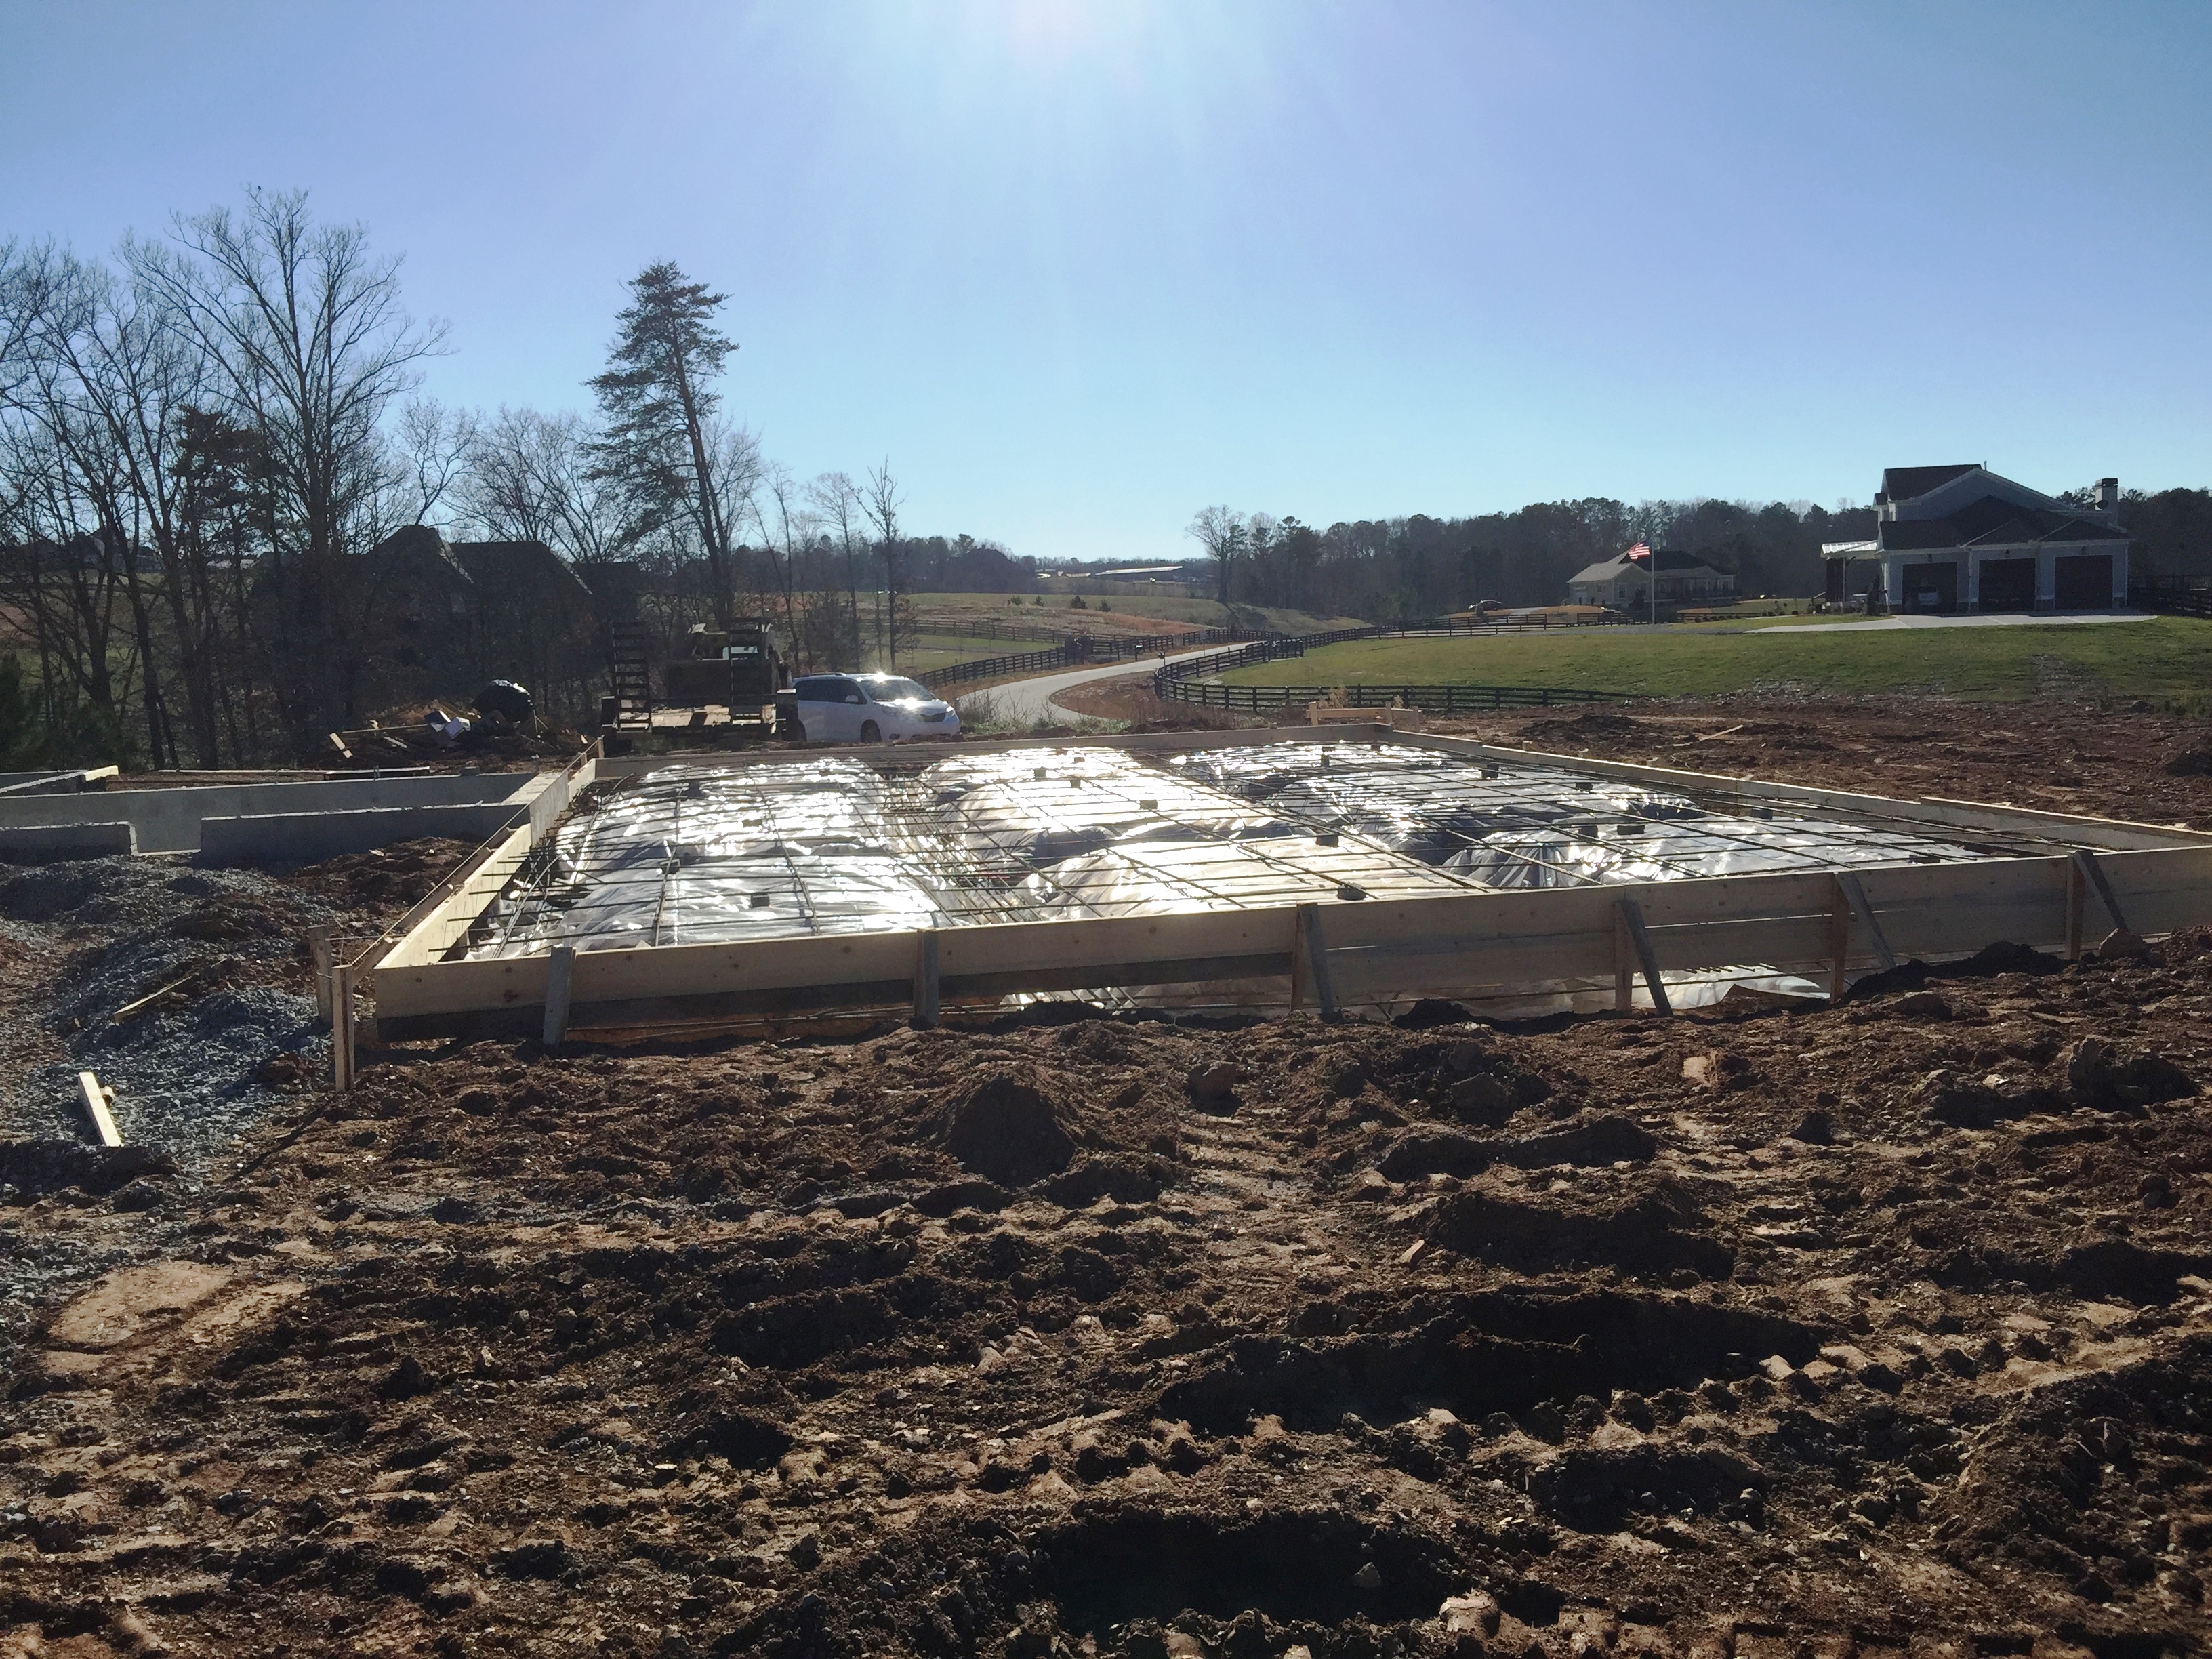
 The supplies for the slab were then dropped off (wire mesh, rebar poly sheeting, gravel, and lumber for the concrete molds):
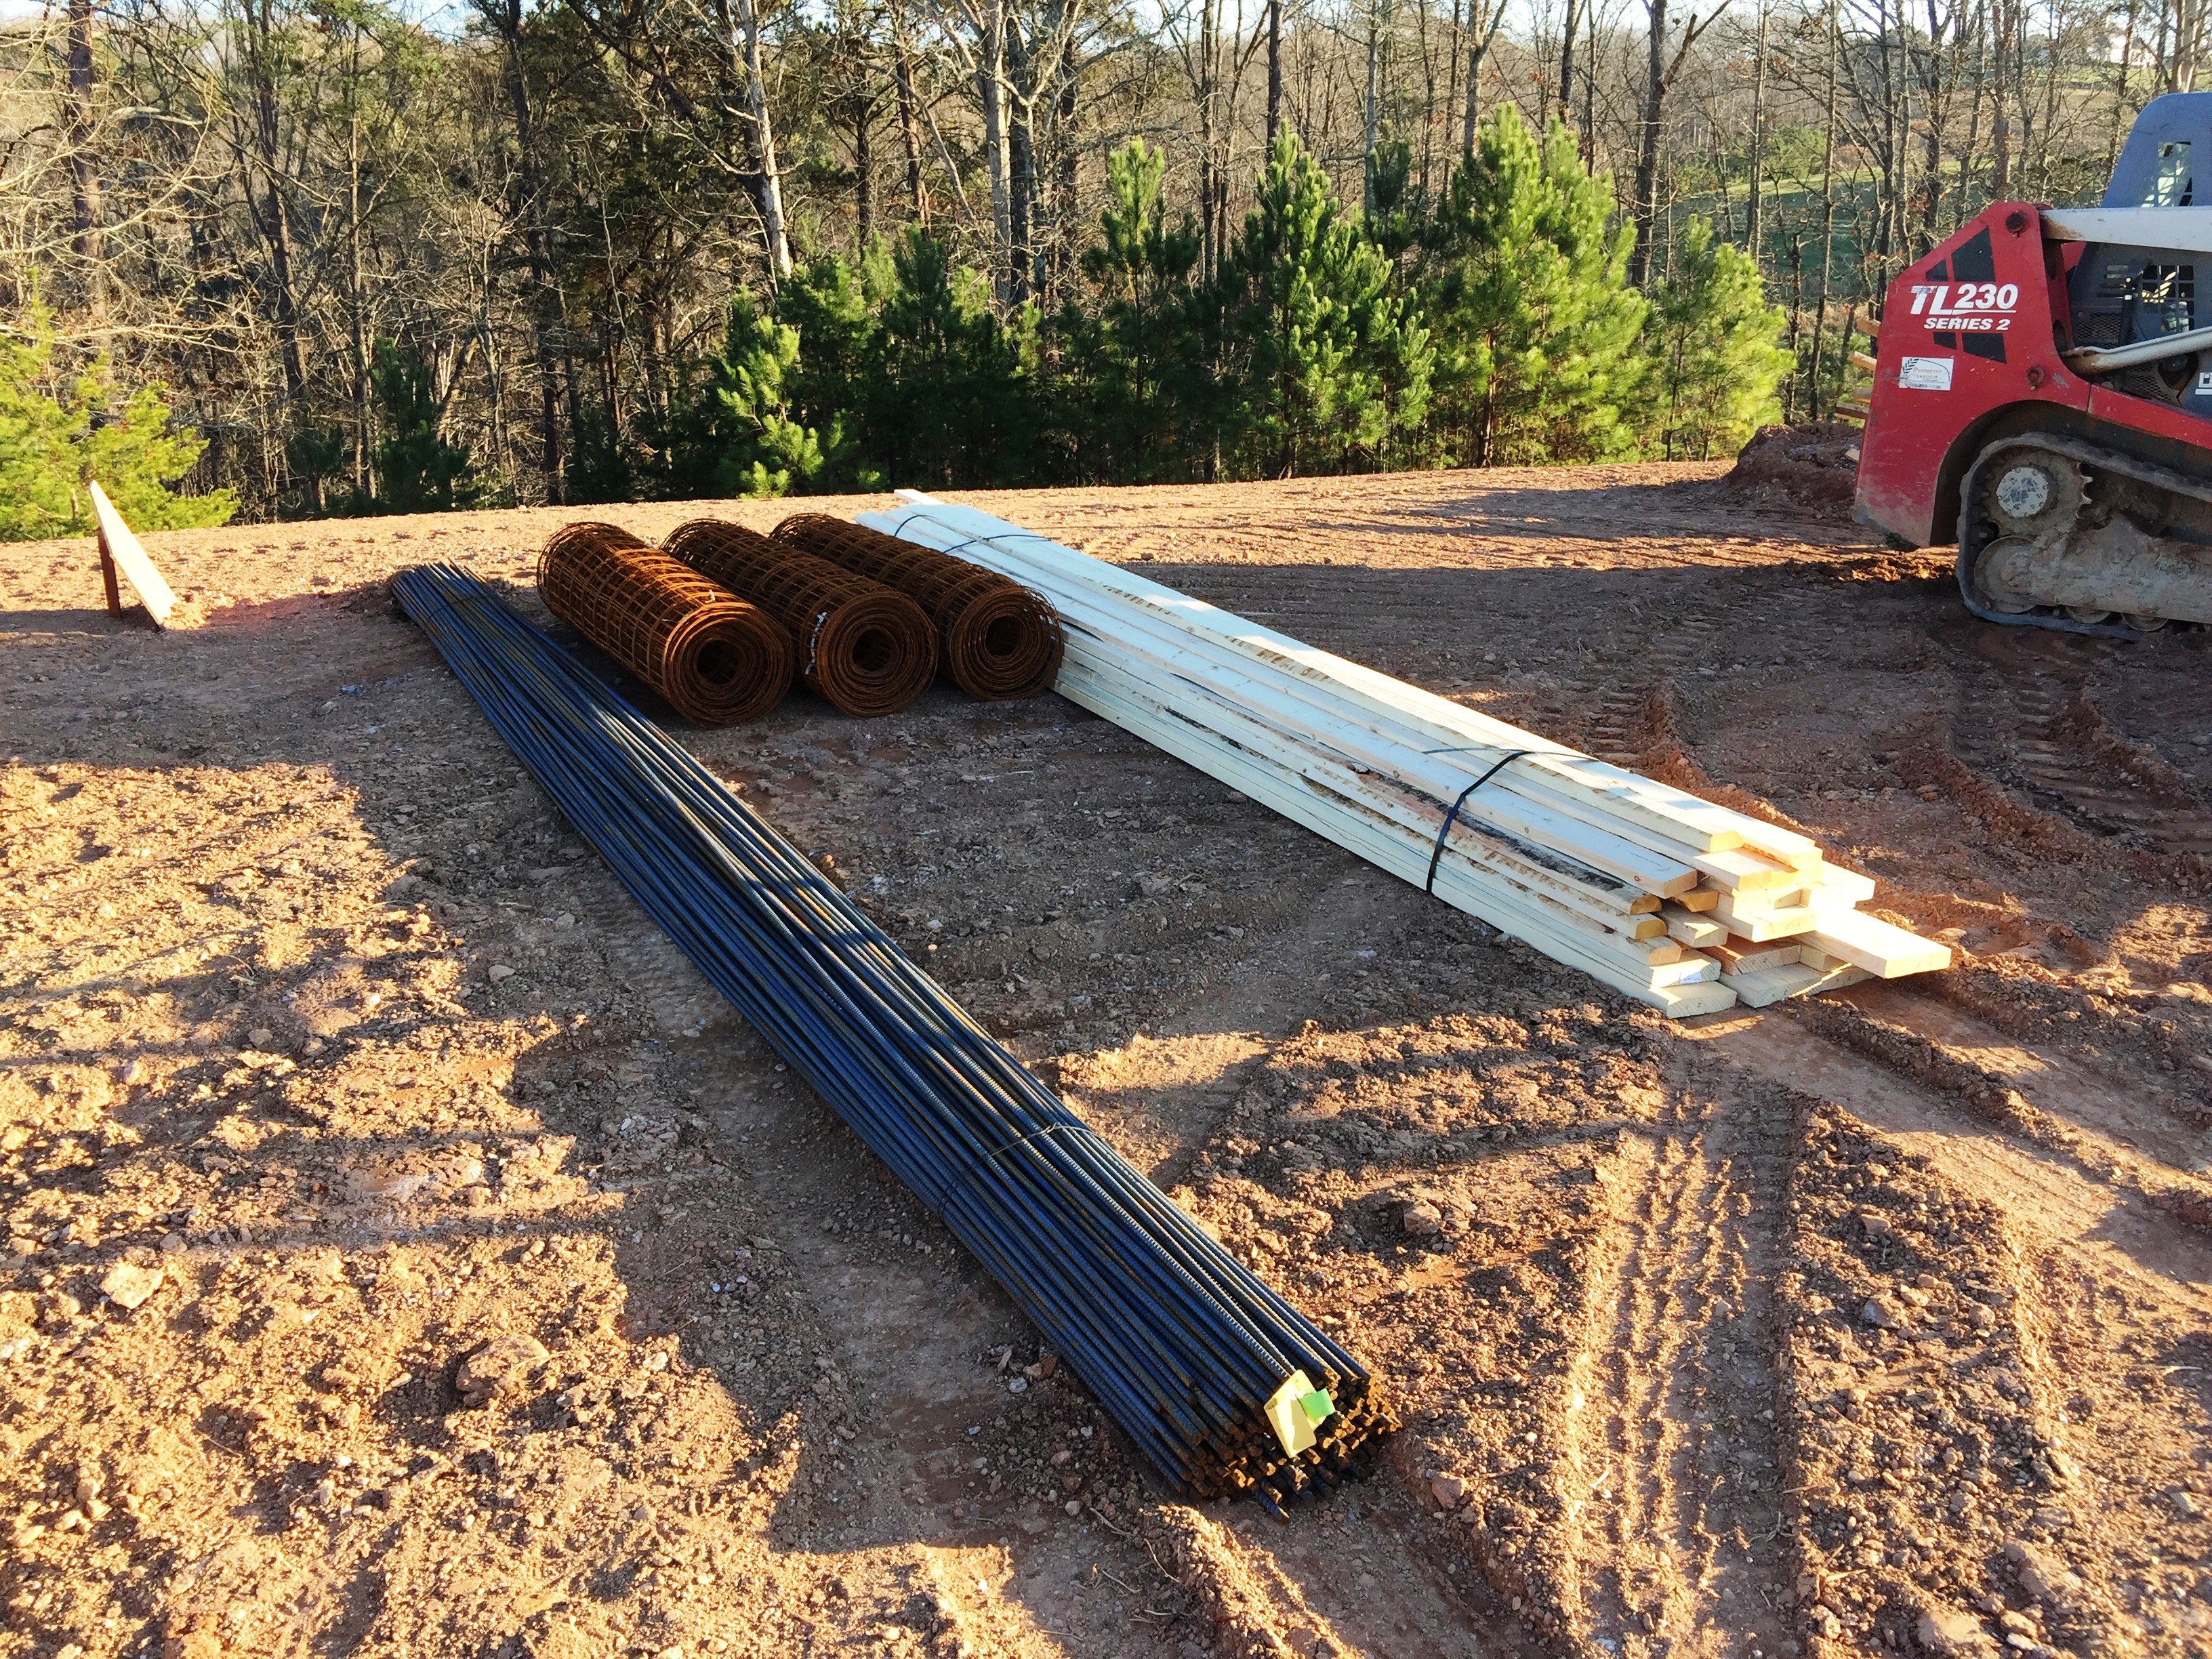

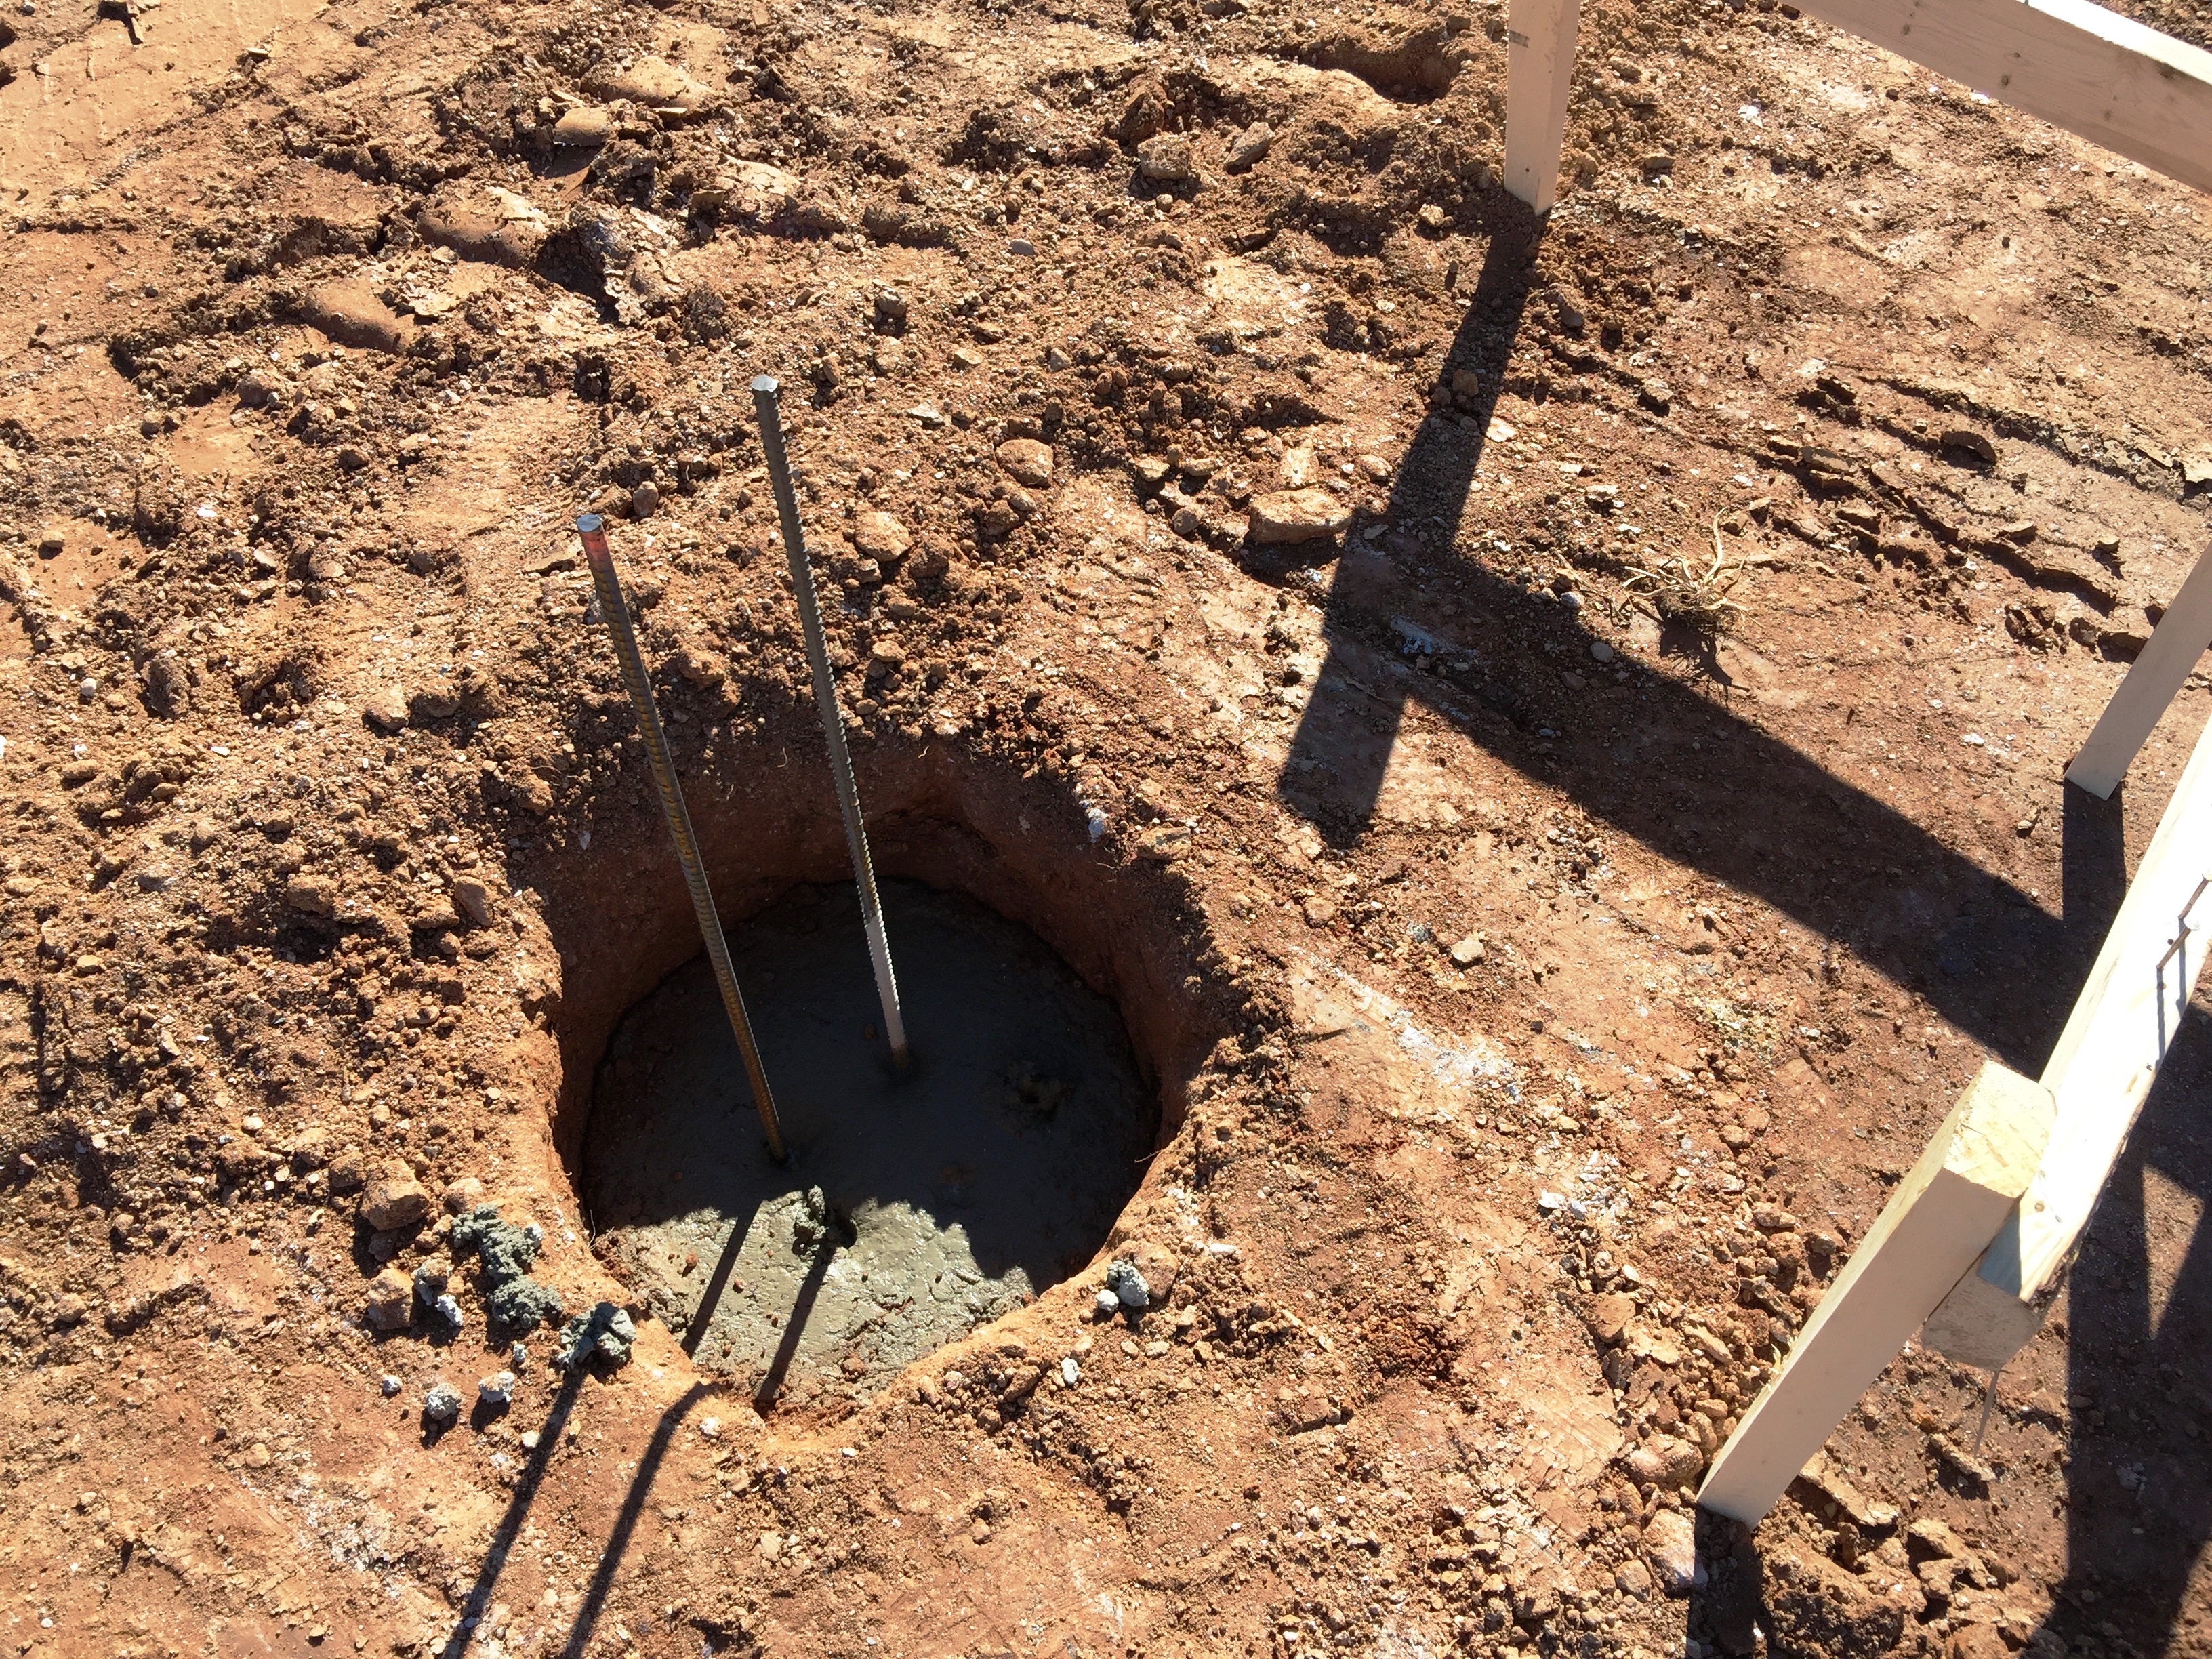
 Around this time we ran into an unexpected expense. Because the ground under the future location of the garage was disturbed during the rough grading we were advised that concrete piers would be required. The piers help ensure that the garage slab doesn’t crack or fail due to excessive settling of the freshly moved dirt. The piers are nothing more than concrete columns that will support the garage slab. There were about 20 piers poured in all, each spaced several feet apart. Here is what one of the piers looked like after it was poured:
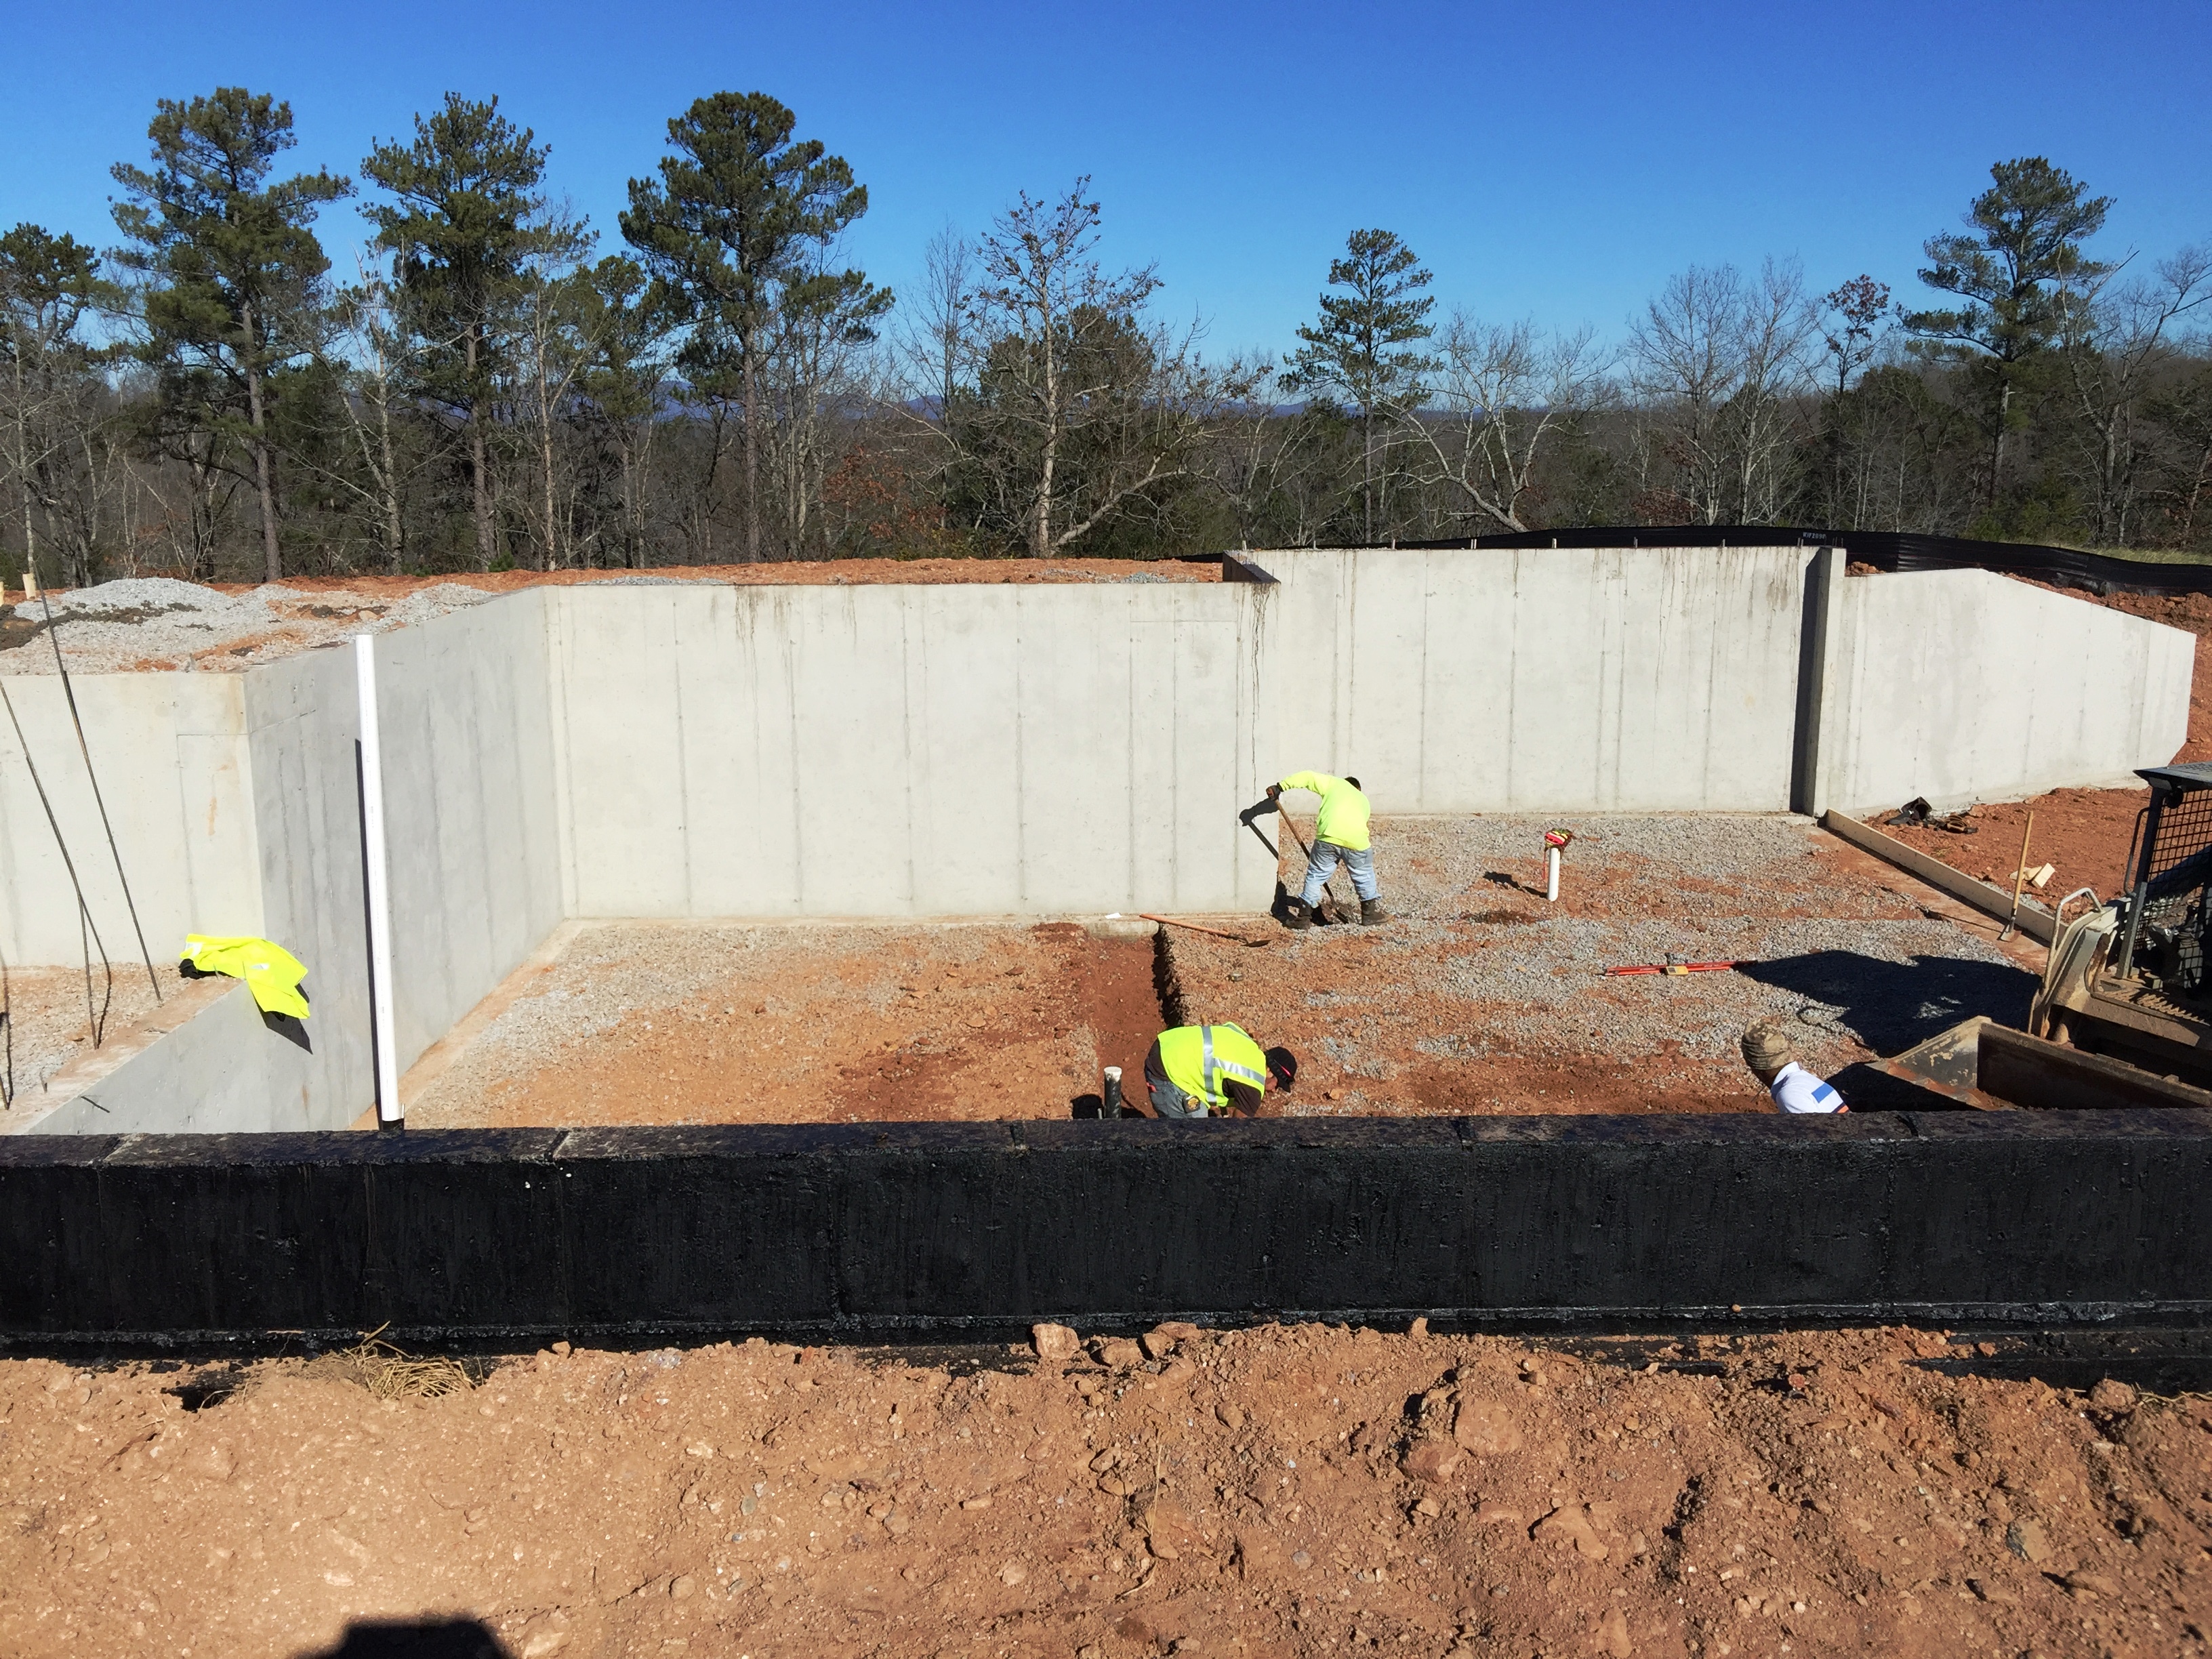
 The next morning when we arrived they were digging out the trenches in the basement. The trenches are aligned with the load-bearing walls to provide an extra deep layer of concrete to support the weight of the upper floors of the house:
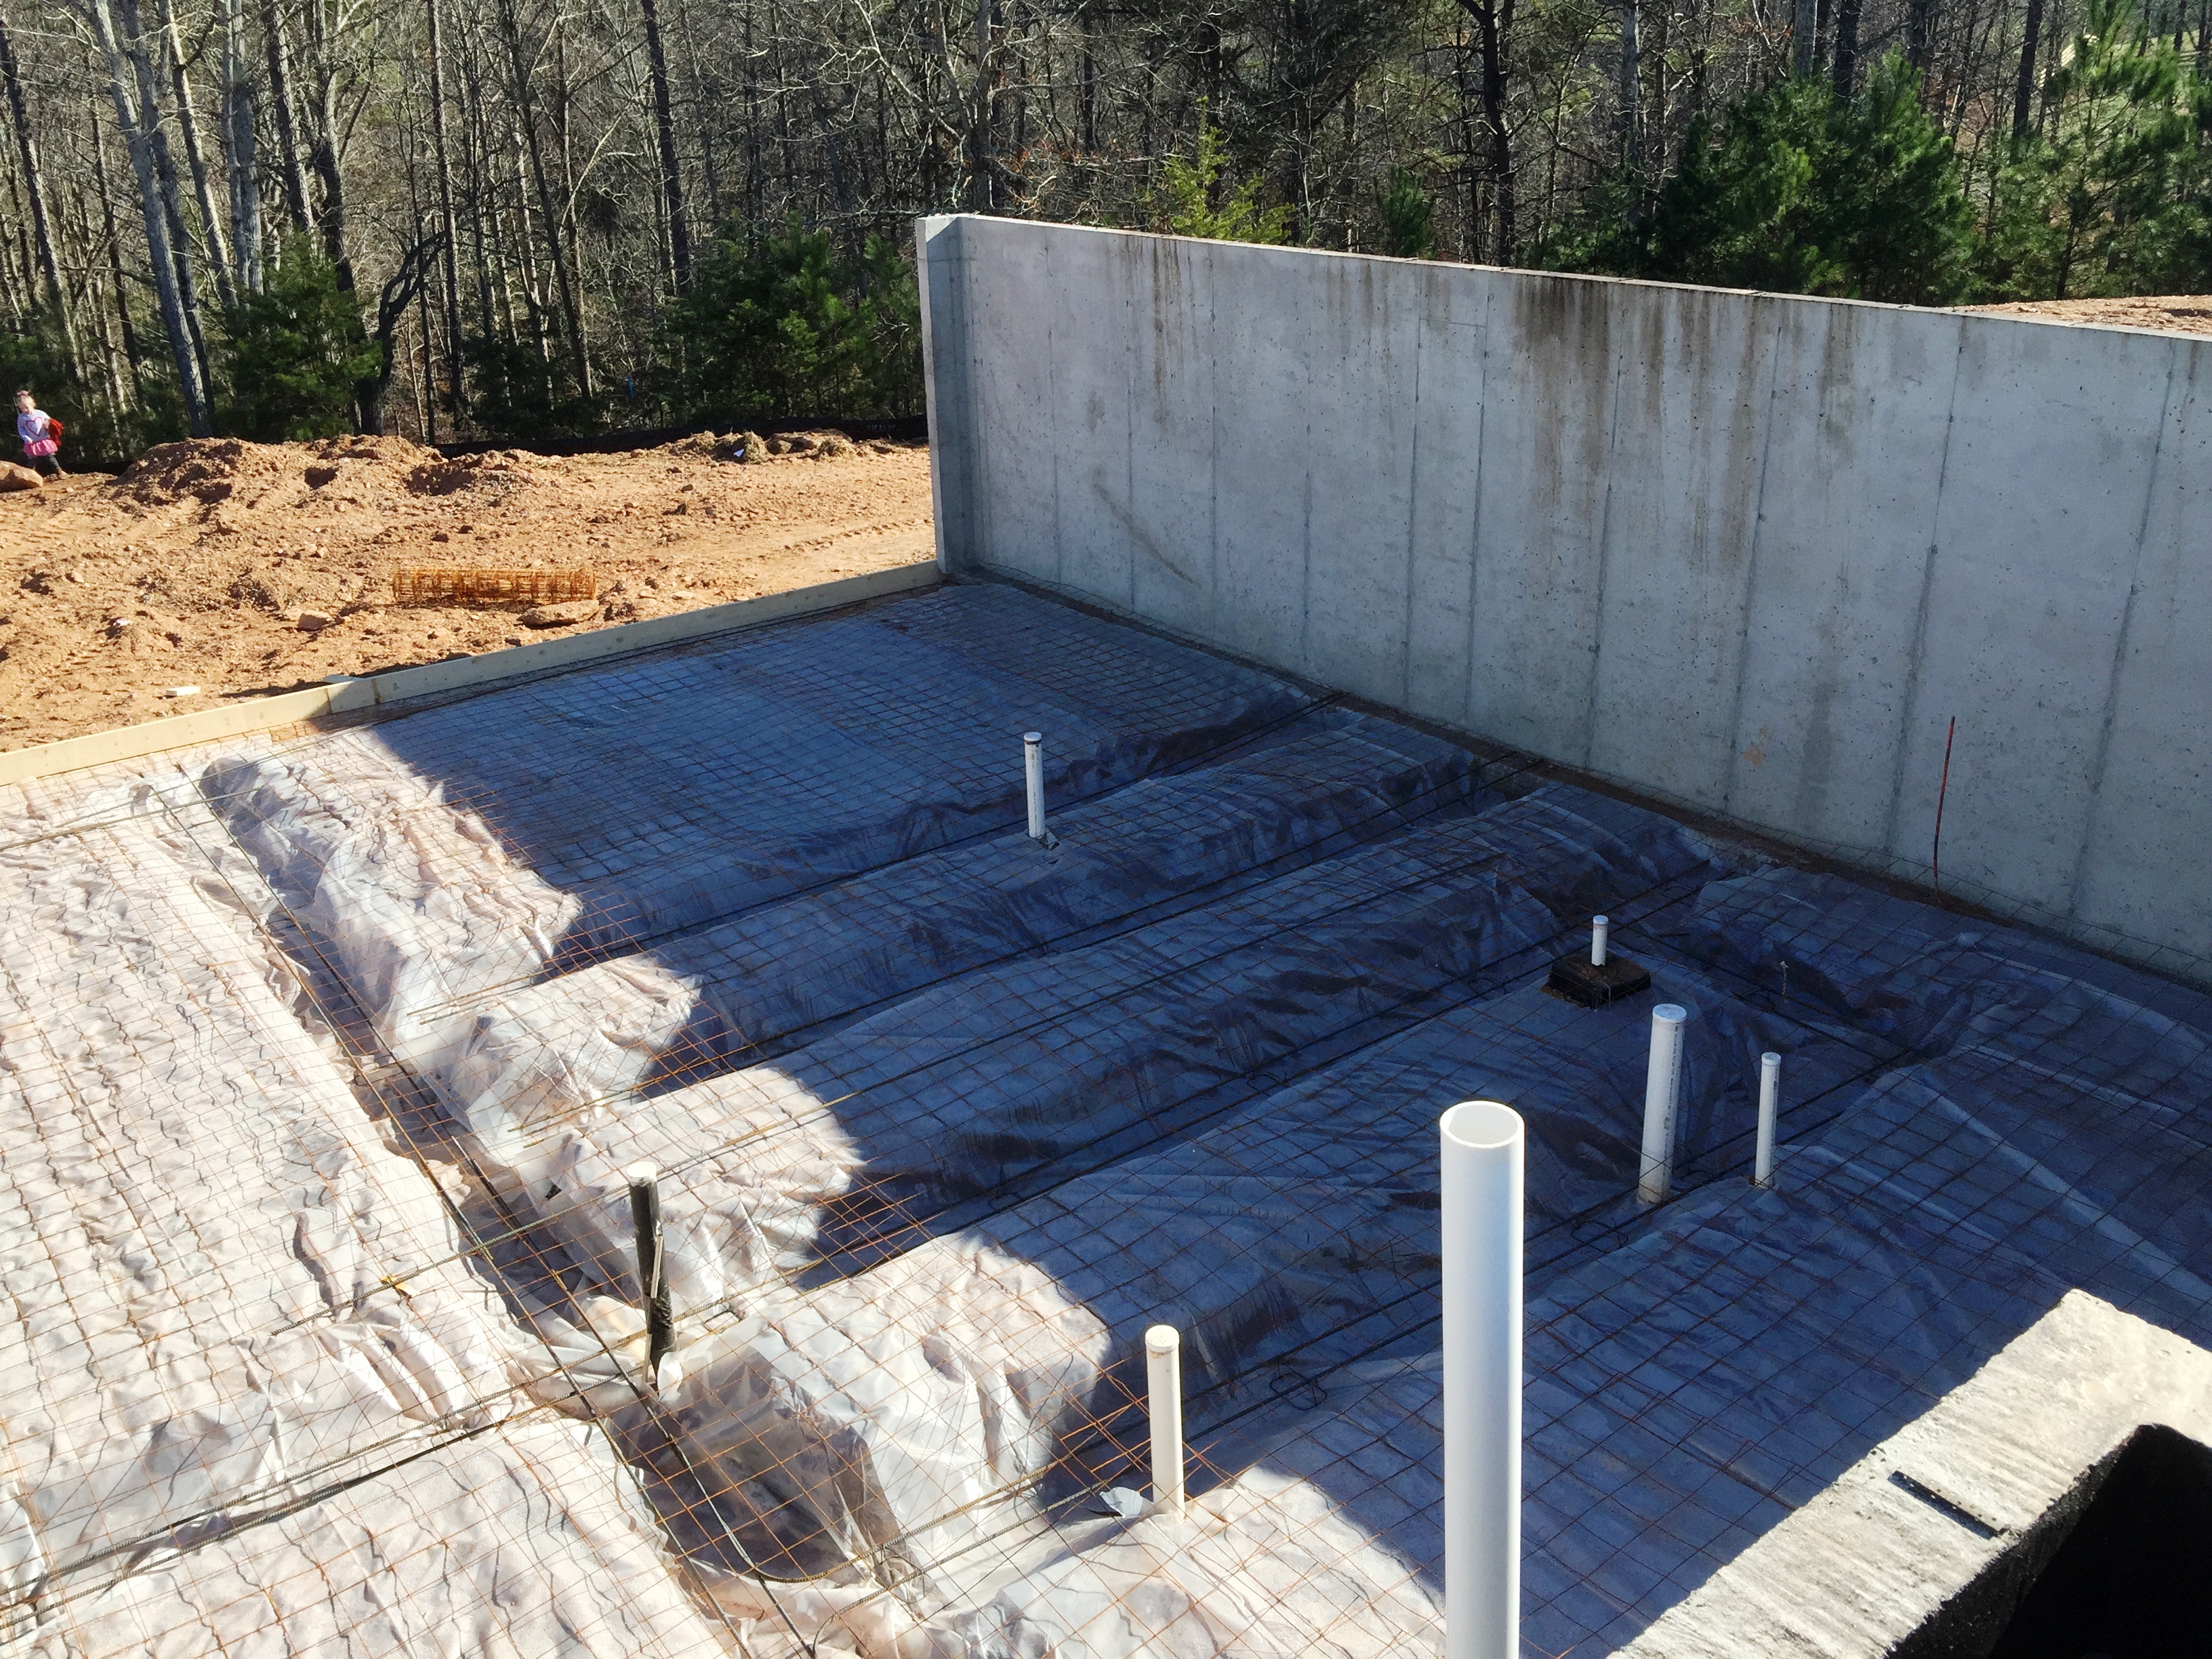
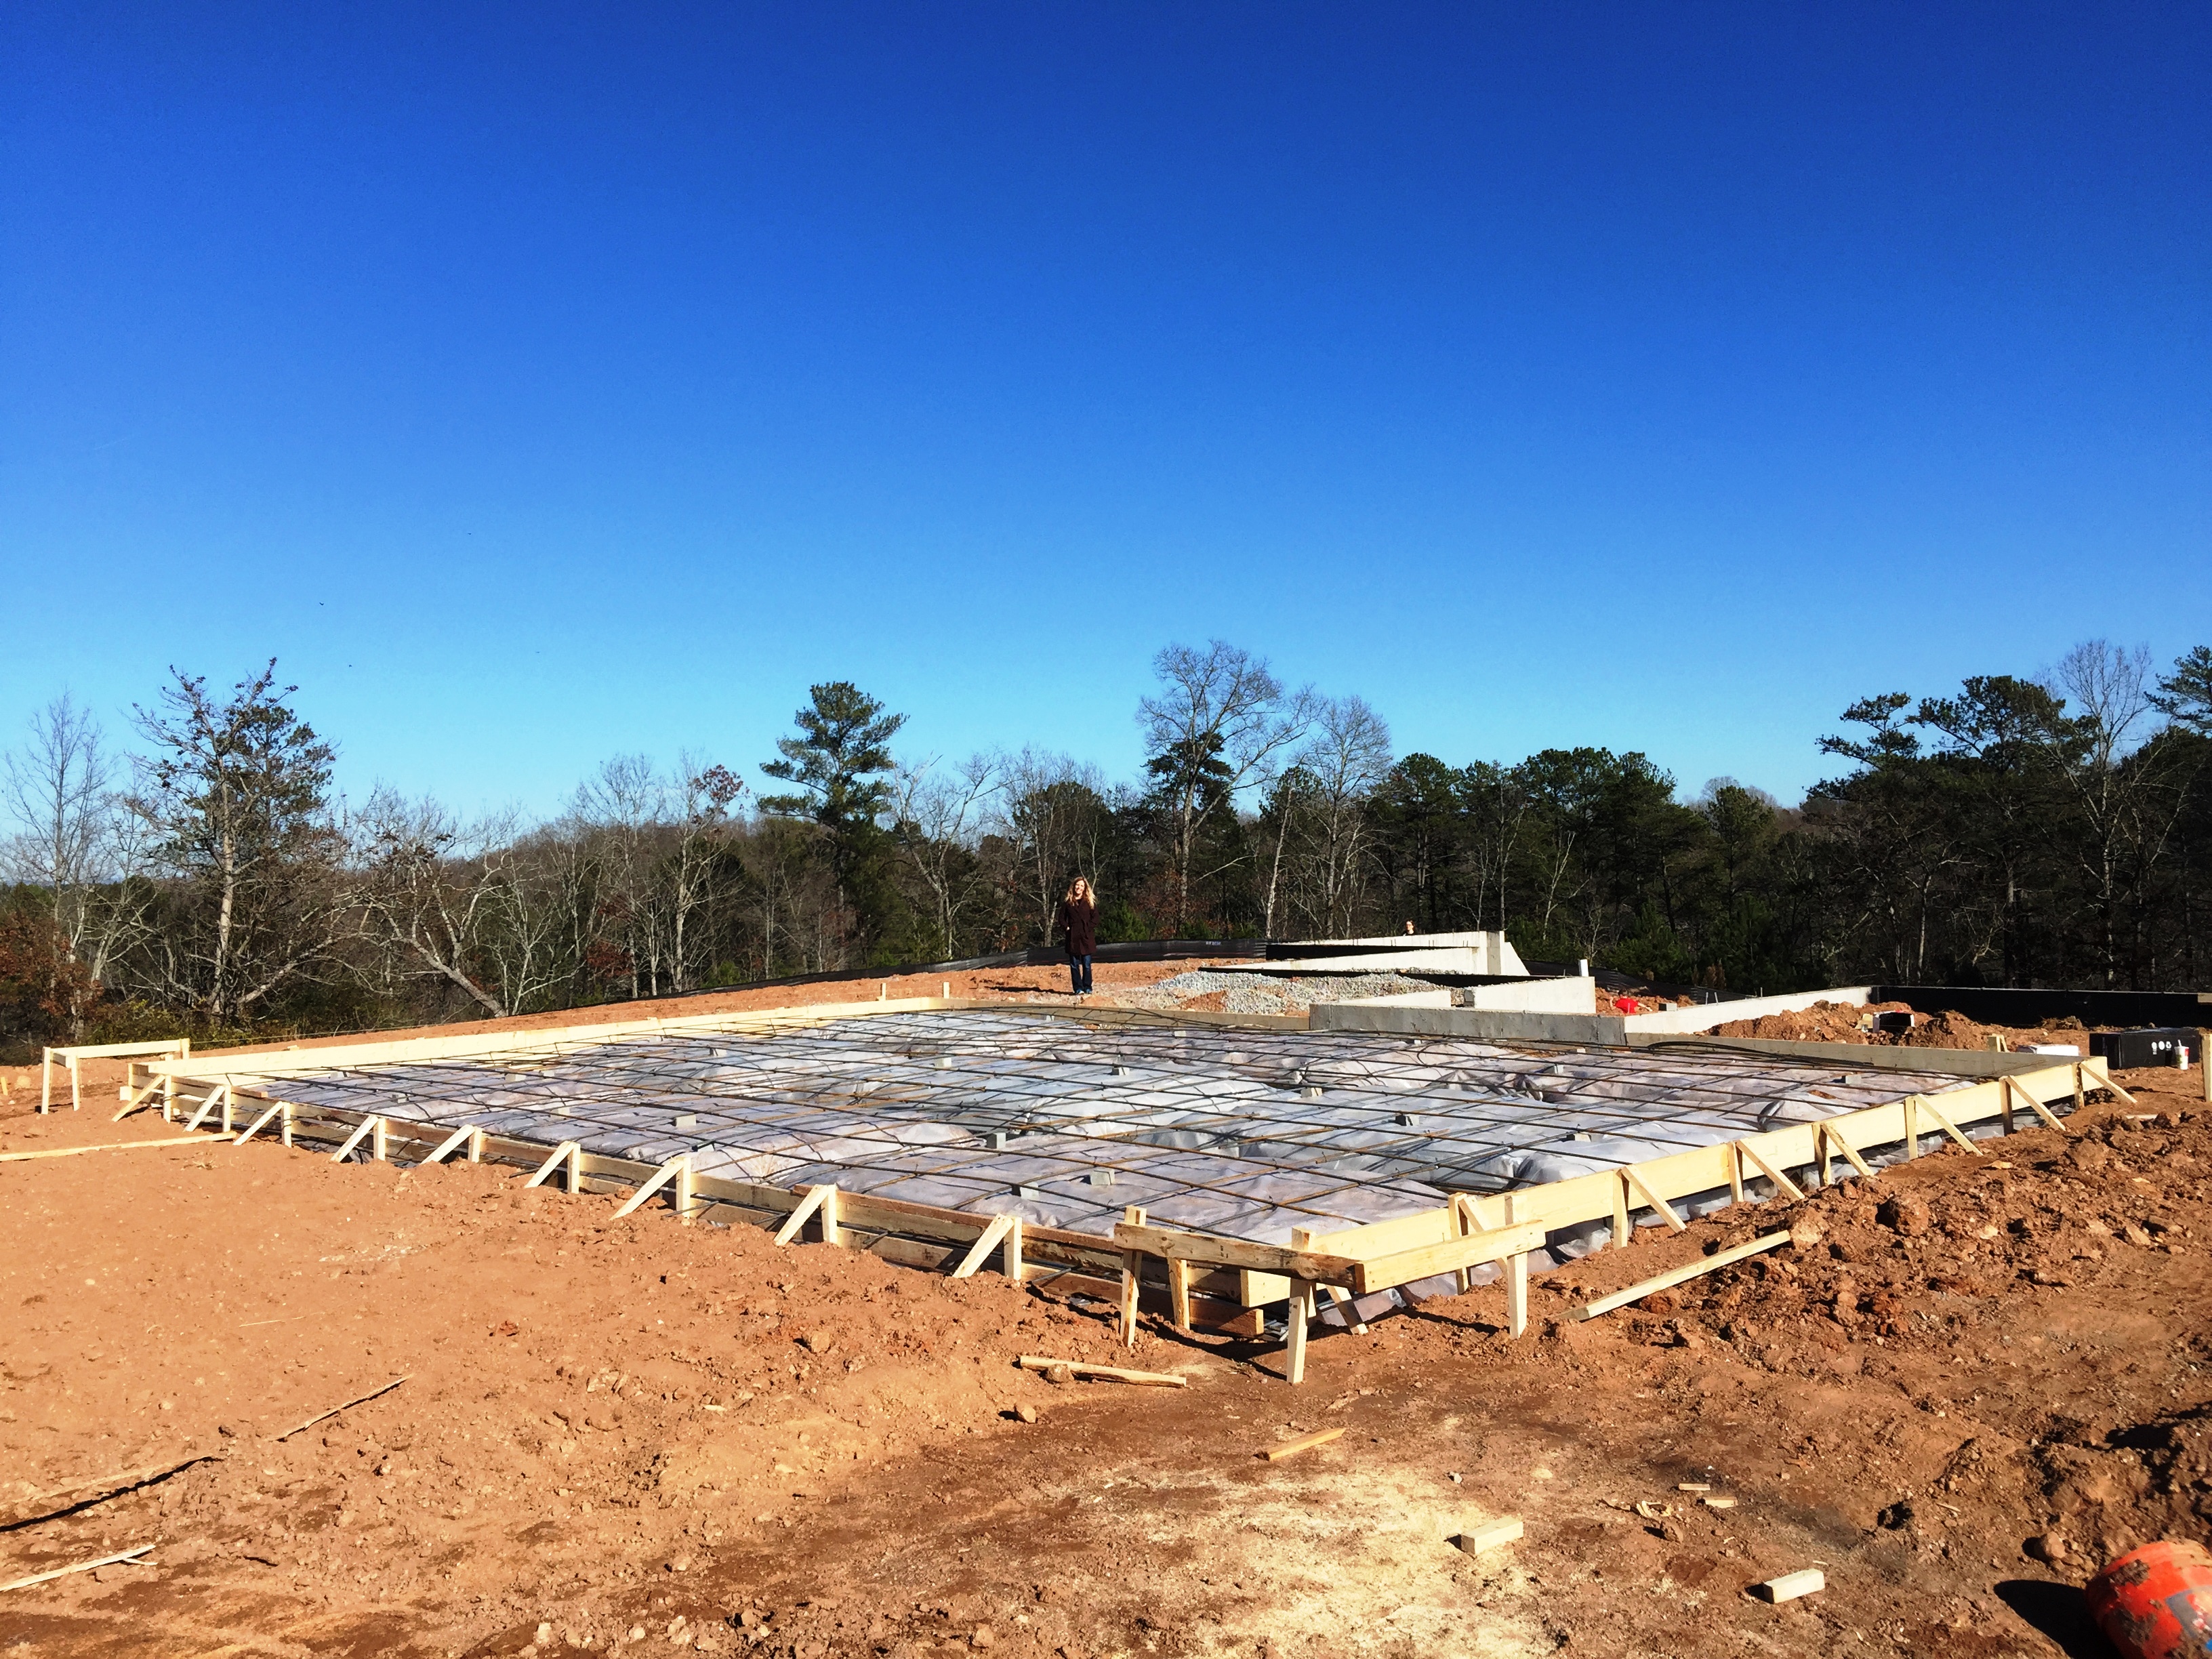
 Once the trenches were dug they laid more rebar and covered everything with the poly sheeting:
 They also had to do the same thing for the garage (once the lumbar molds were put in place for the garage slab):
 Here is a panoramic view of the basement just before the slab was poured:
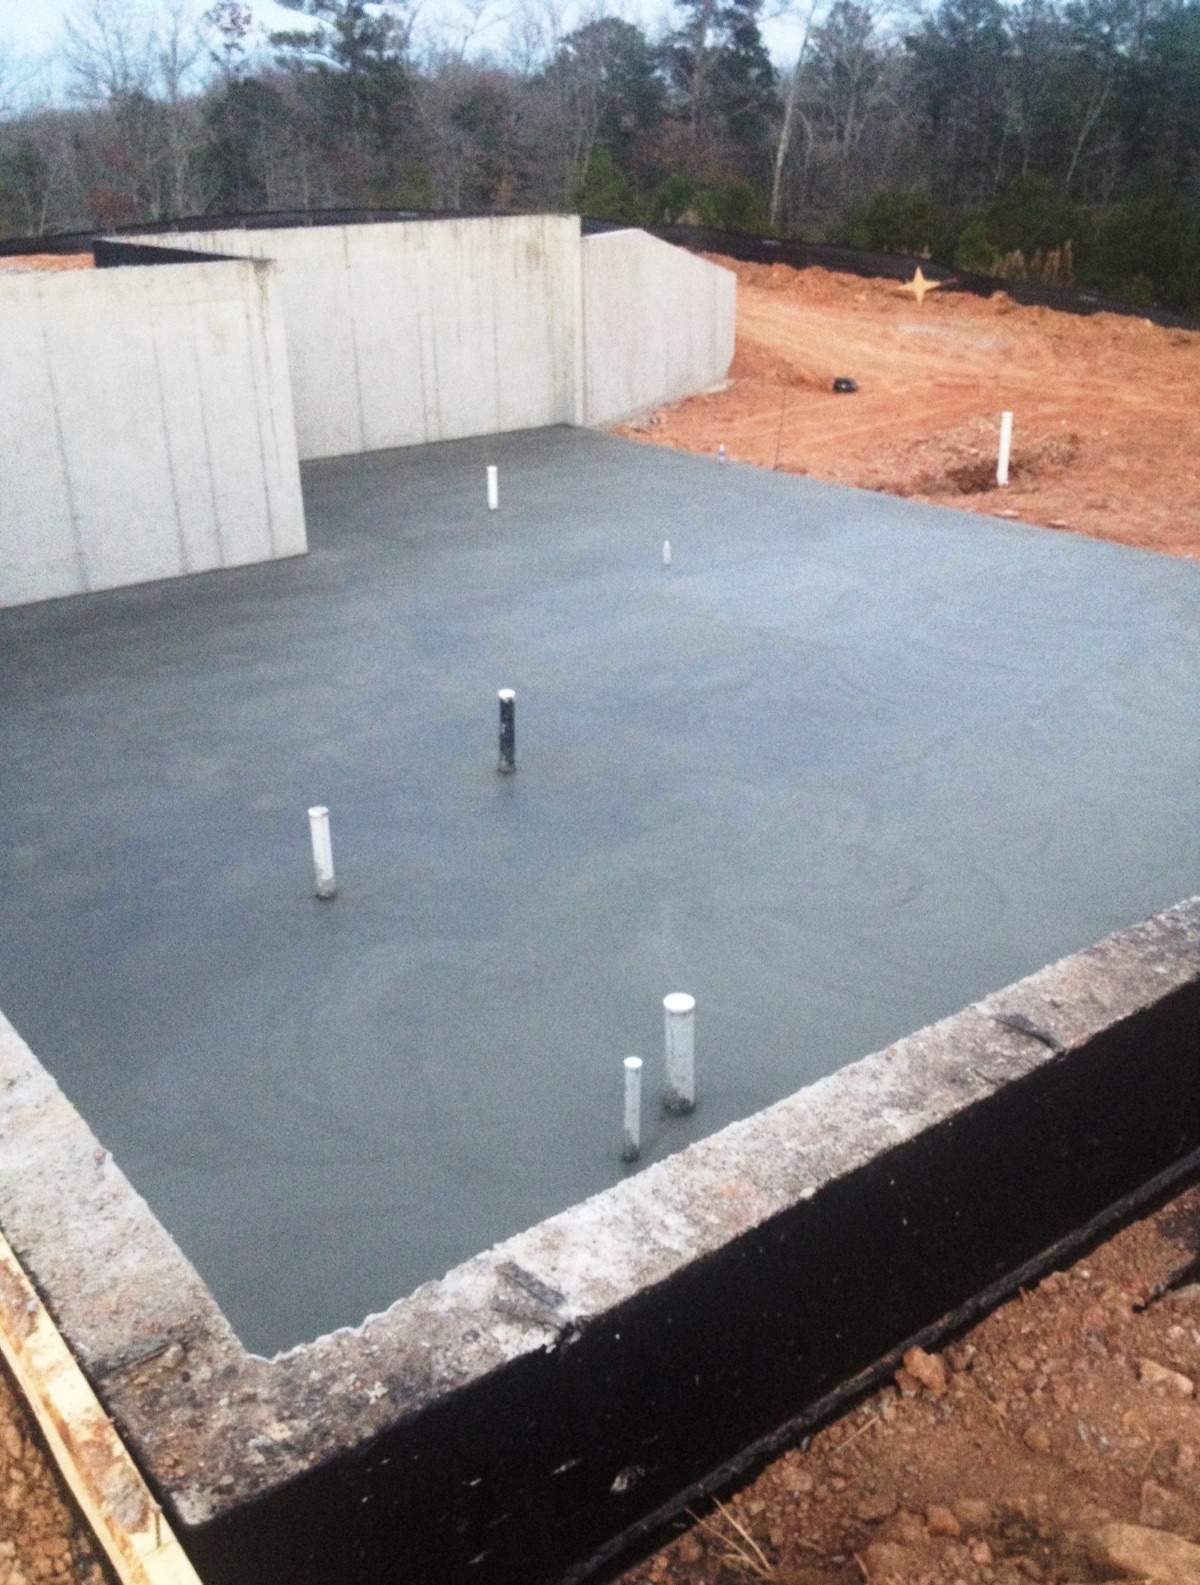
 The next morning when we arrived the slabs for both the garage and the basement had already been poured:
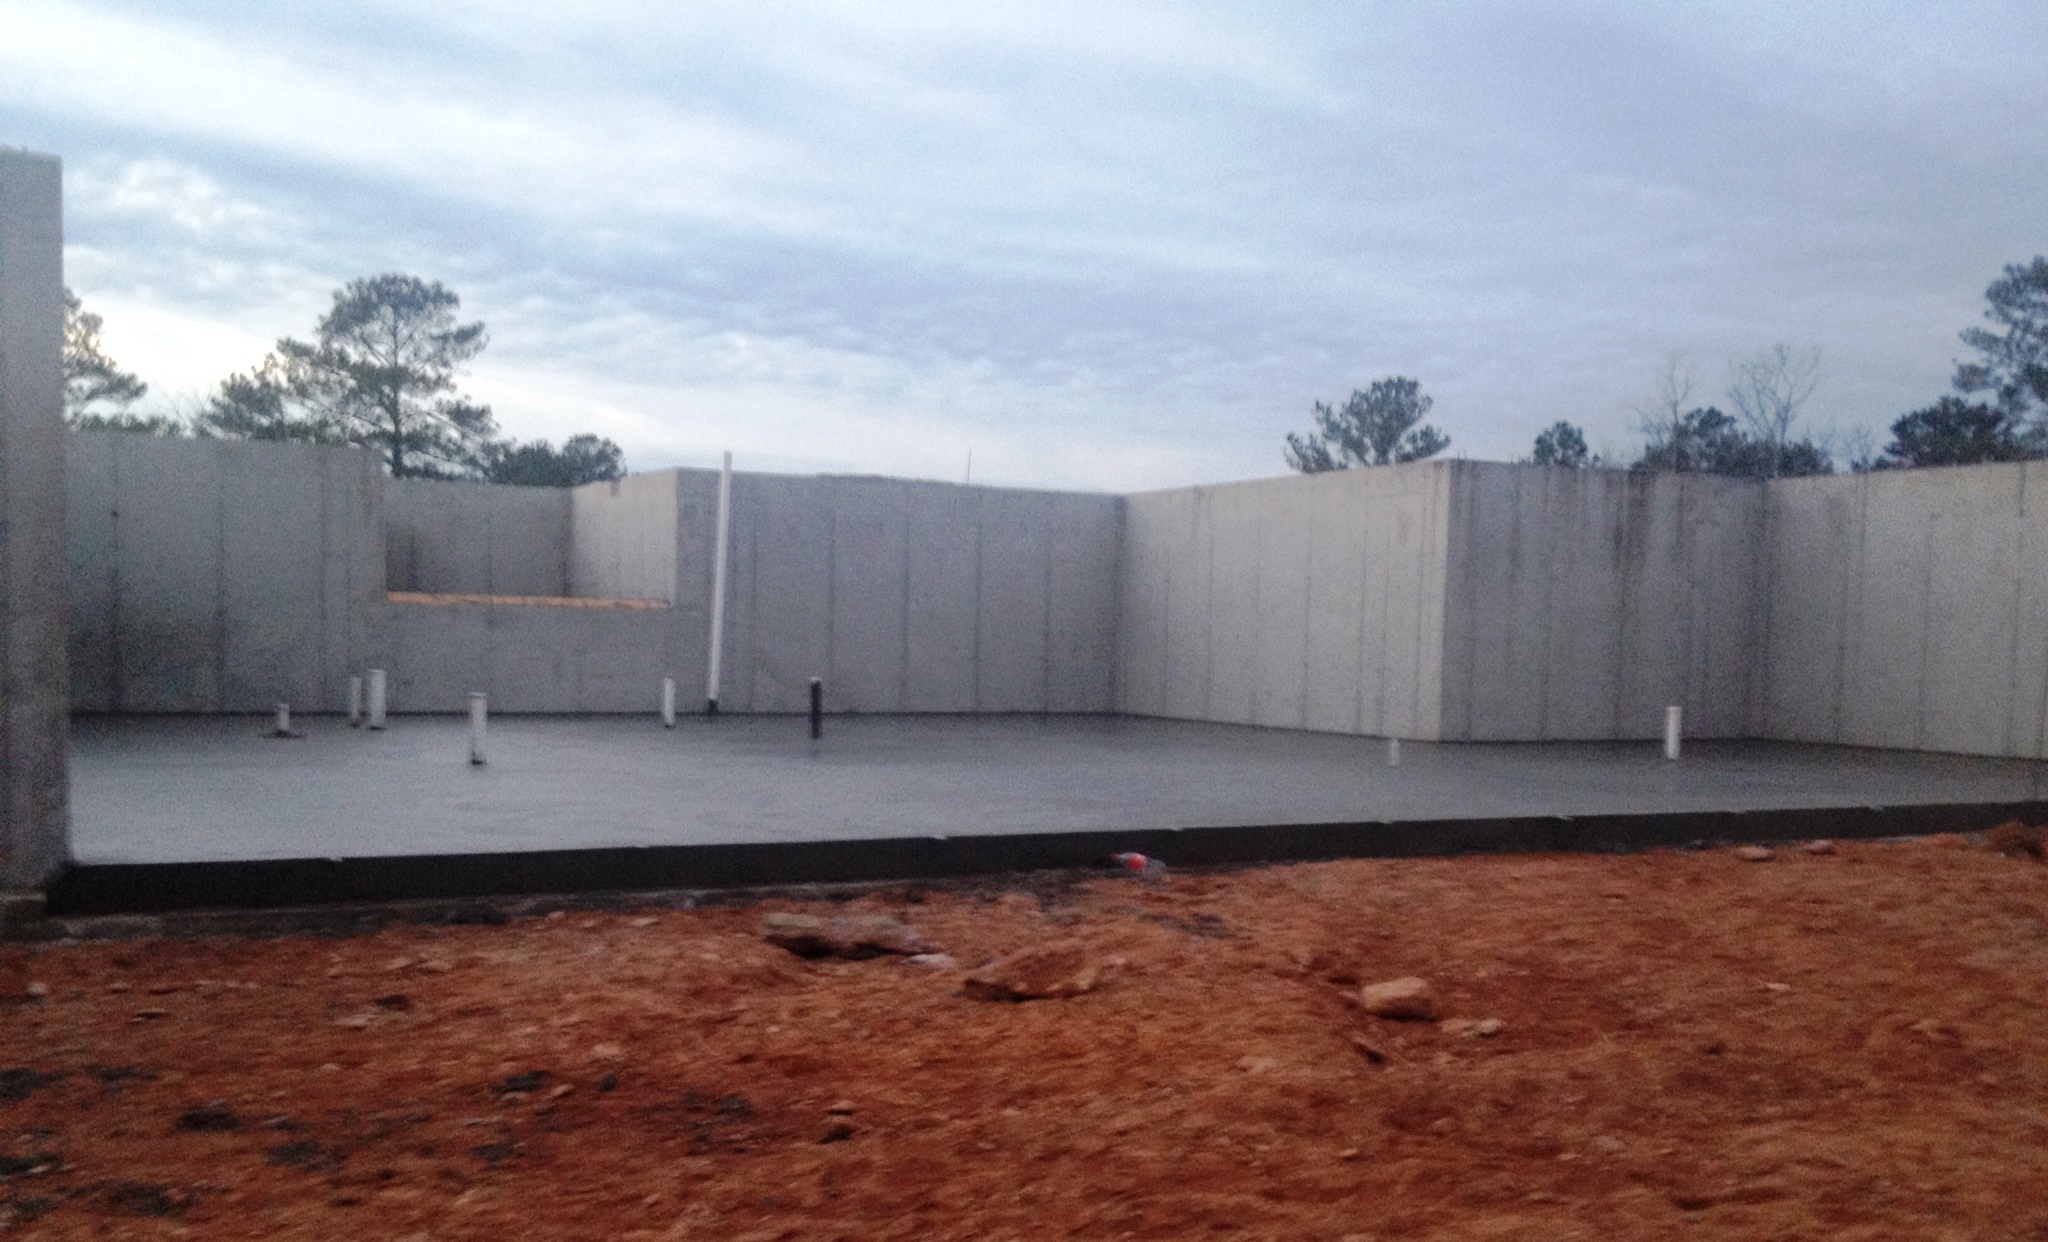
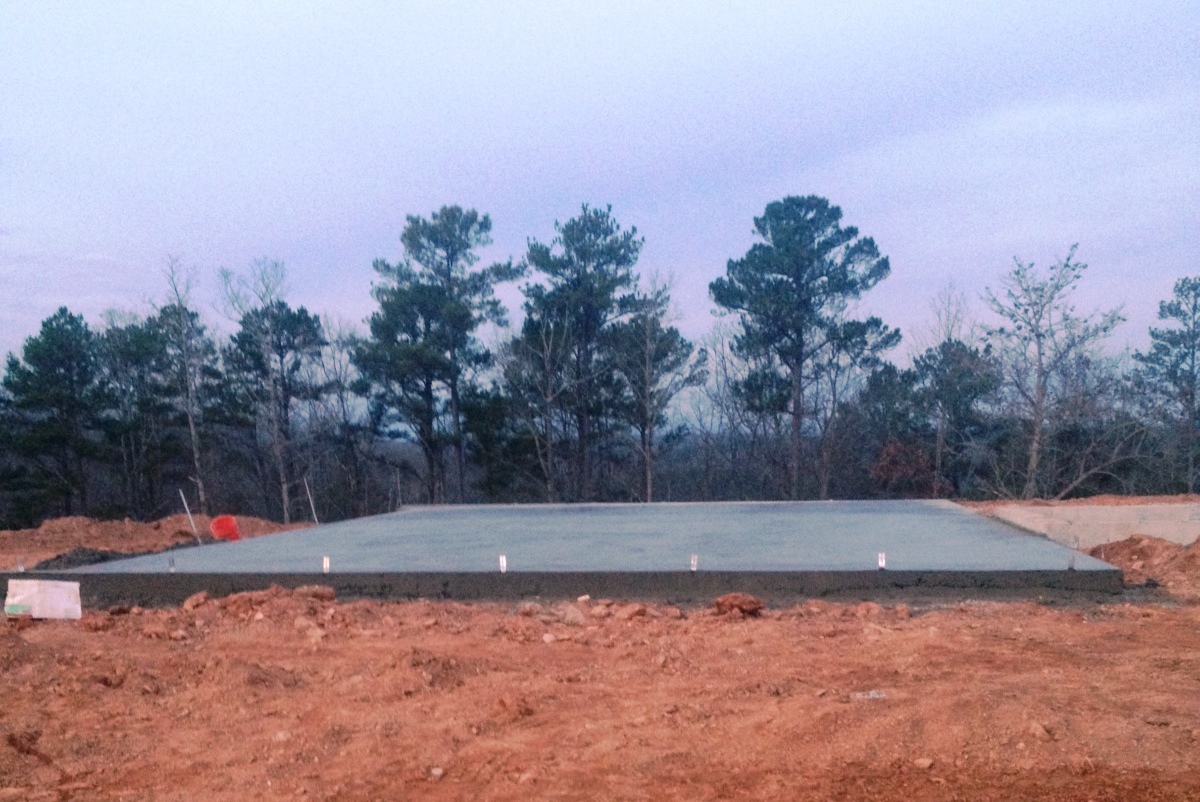 Once the basement and garage slabs were poured we were ready for framing.
At the time of writing this post the basement has already been framed and the first floor is about half-way done. We are going to wait until framing is complete to write the next post so don’t forget to SUBSCRIBE or LIKE our page on Facebook if you would like to be notified when the new pictures are posted!
