When I tell people I mill my own grain they look at me like I’m some kind of freak that spends all day working away to produce flour for my family. The truth is that I can mill the flour I need for a recipe faster than most people can make a piece of toast and just as easily. Milling your own grain is quick, easy, and healthier for you than store bought “dead” flour. If you have never milled your own grain to prepare fresh flour before you owe it to yourself to give it a try and see for yourself just how easy it is.
Instructions for milling your own grain:
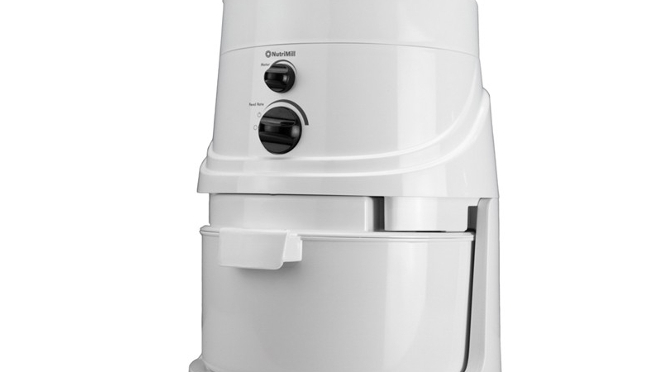
First, Purchase a mill if you don’t own one already. We highly recommend the Nutrimill. We purchased our first mill over 5 years ago and it still works like new.
Second, Purchase the grain appropriate for the recipe (you can buy it locally if you search for it or you can order it straight from Amazon.com
):
- Soft White Wheat – good for baking anything that doesn’t require yeast
- Hard Red or Hard White Wheat – required for recipes using yeast (either works great but the flavor of the white wheat is more mild than the red…it tastes less “wheaty”)
- Durum Wheat – great for making pizza dough and pastas
Third, Measure out the desired amount of grain, lift off the lid of the mill, pour the grain into the top section, and put the lid back on. Click HERE to see how I organize my grain cabinet to help streamline this whole process.
Fourth, Turn the mill on by rotating the big knob in the front until it is in a vertical position. Run the mill until you hear the high pitched sound change (indicating that the grain has all been processed)…or you can lift off the top lid and watch it to see when it is empty. Usually takes less than a minute to mill all of the grain.
Fifth, Turn off the mill and slide out the lower container by gently pulling it towards you.
Sixth, Measure the flour required by your recipe!
Finally, Enjoy freshly milled, nutrient rich flour that you can’t find in stores!

3 thoughts on “Milling Your Own Grain”
Comments are closed.